CaptchaFox for Keycloak
Installation
- Download the newest release from the GitHub Repository.
- Copy the downloaded
keycloak-captchafox.jarinto theprovidersdirectory of your keycloak installation.
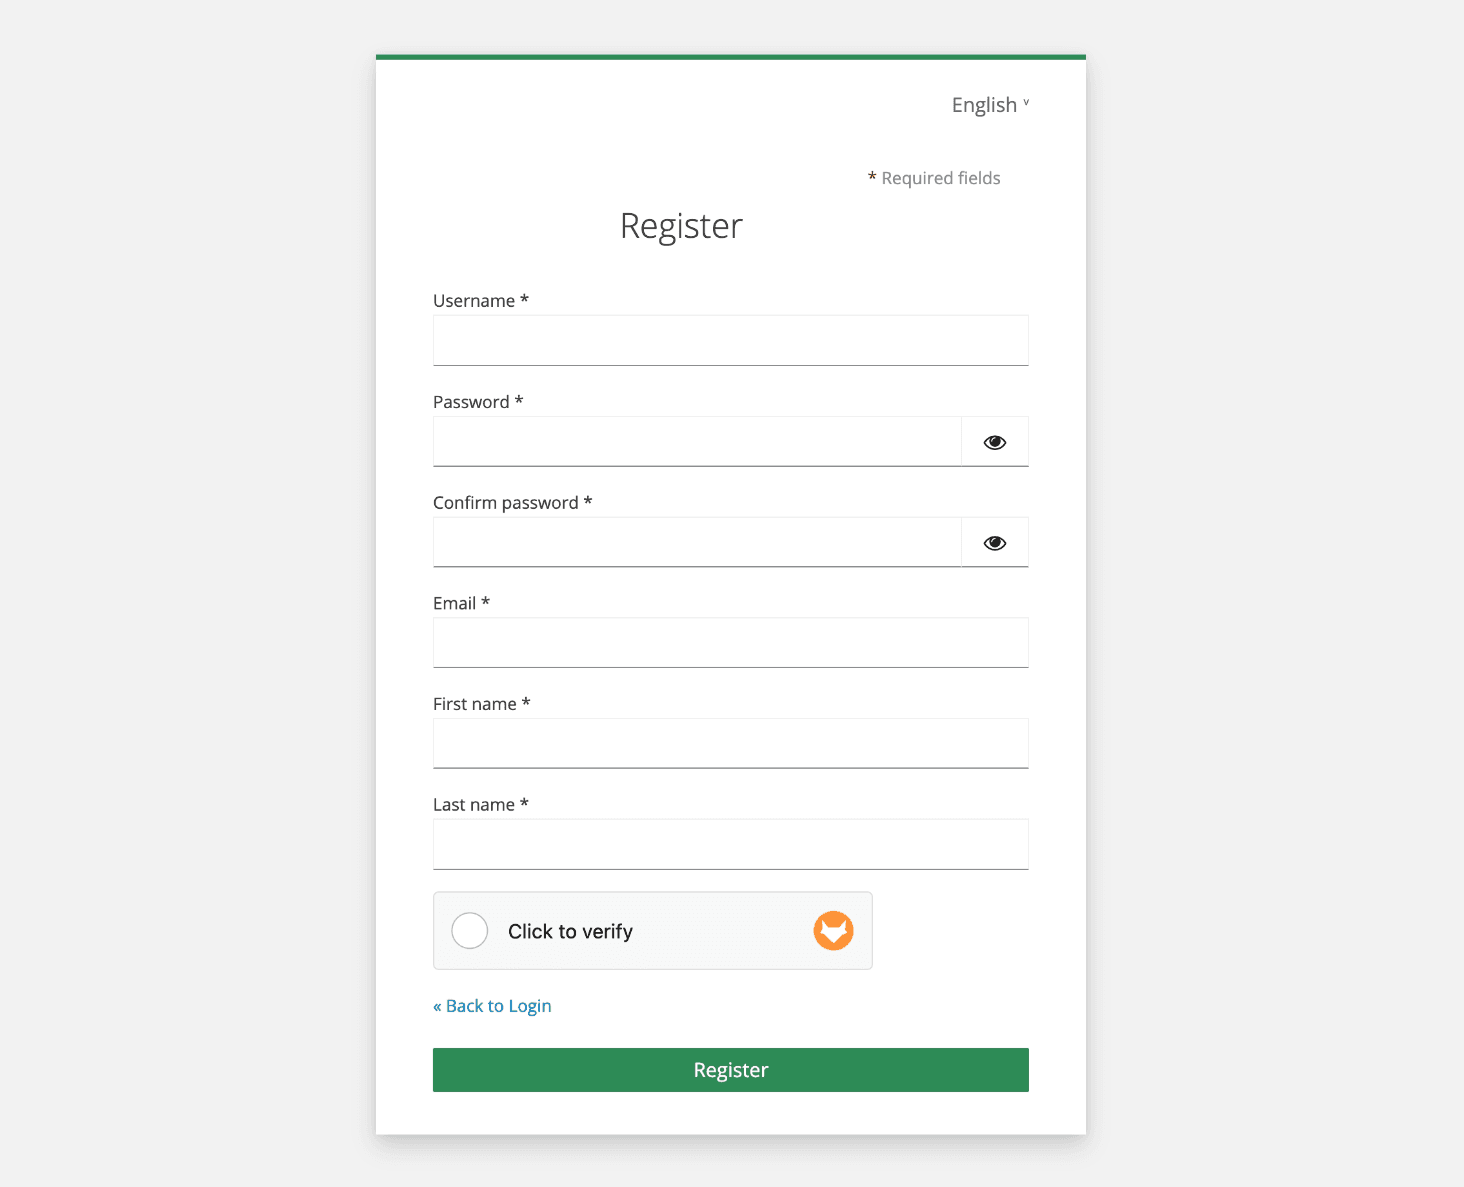
Example Result
This is an example on how it looks like after the configuration is complete:
Registration
To enable the installed provider for registration forms, follow the next steps.
Keycloak Admin Console
Inside your Realm, click on Authentication in the left menu and go to the Flows tab.
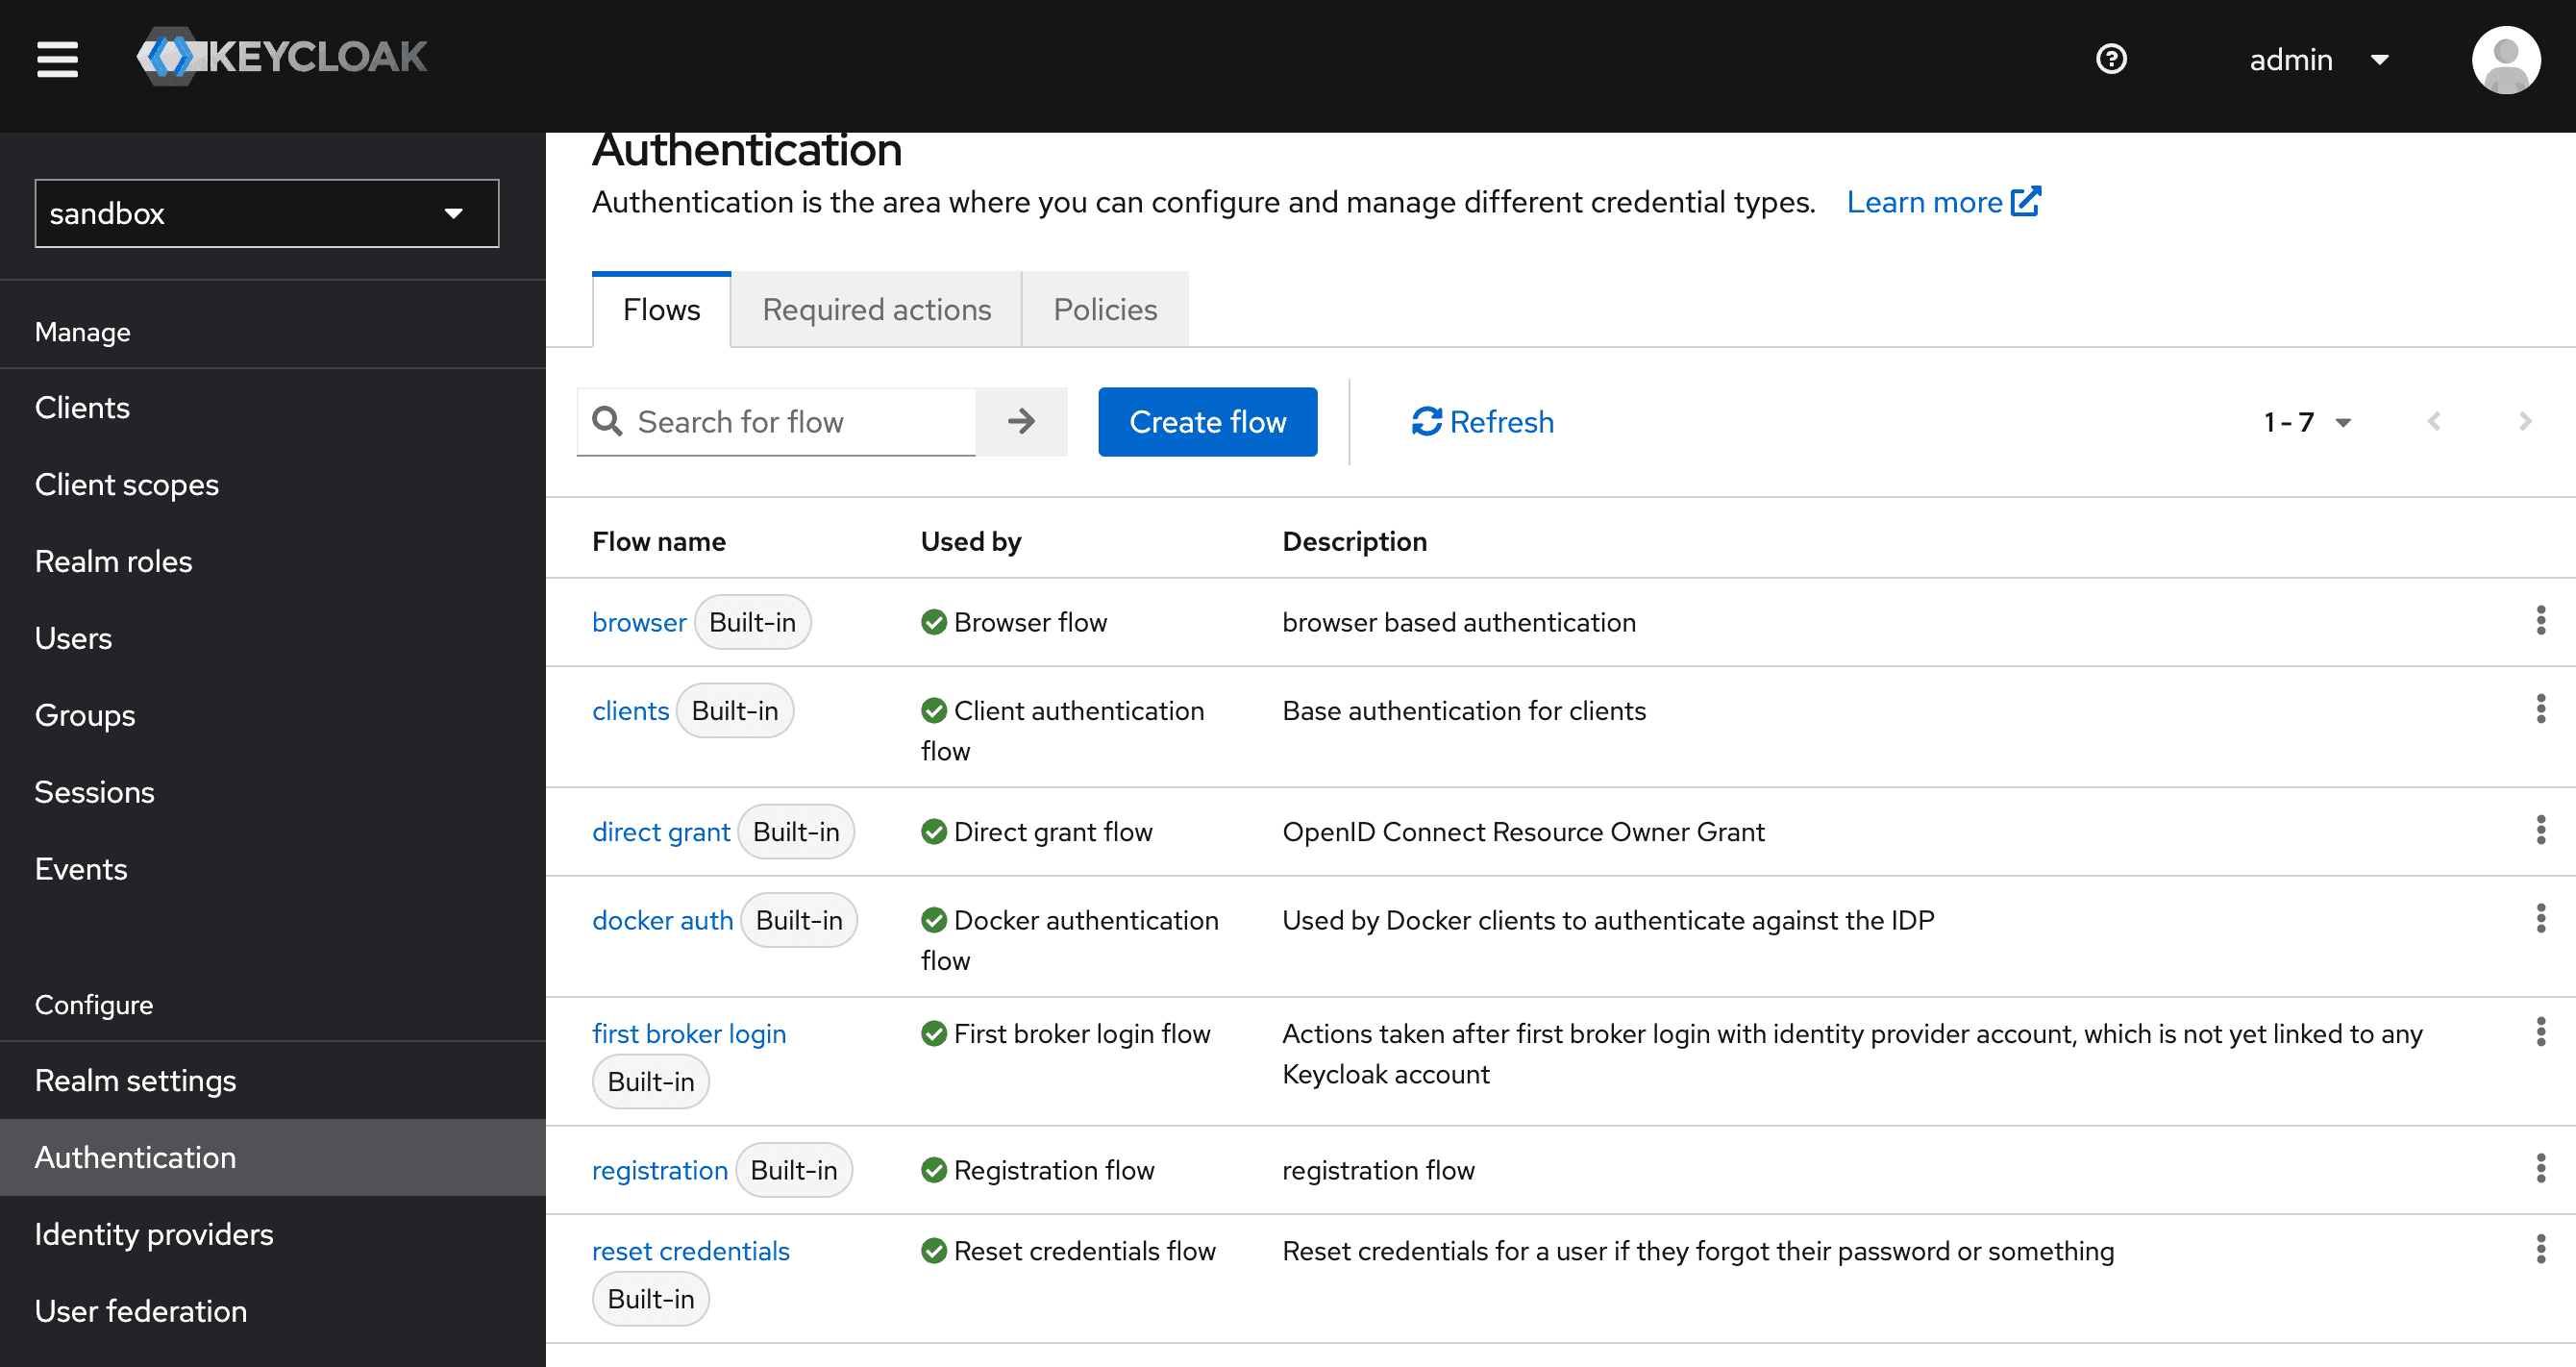
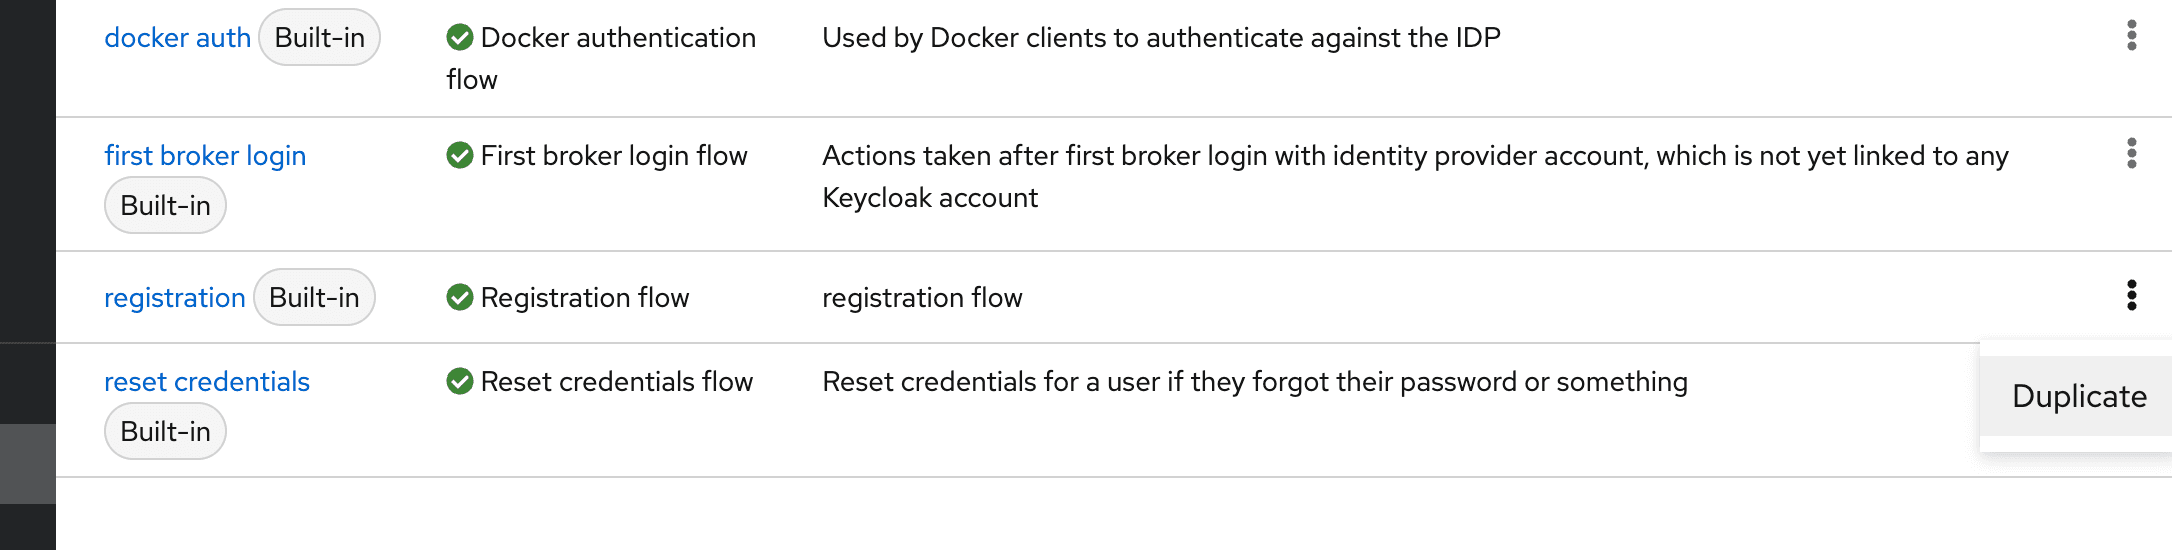
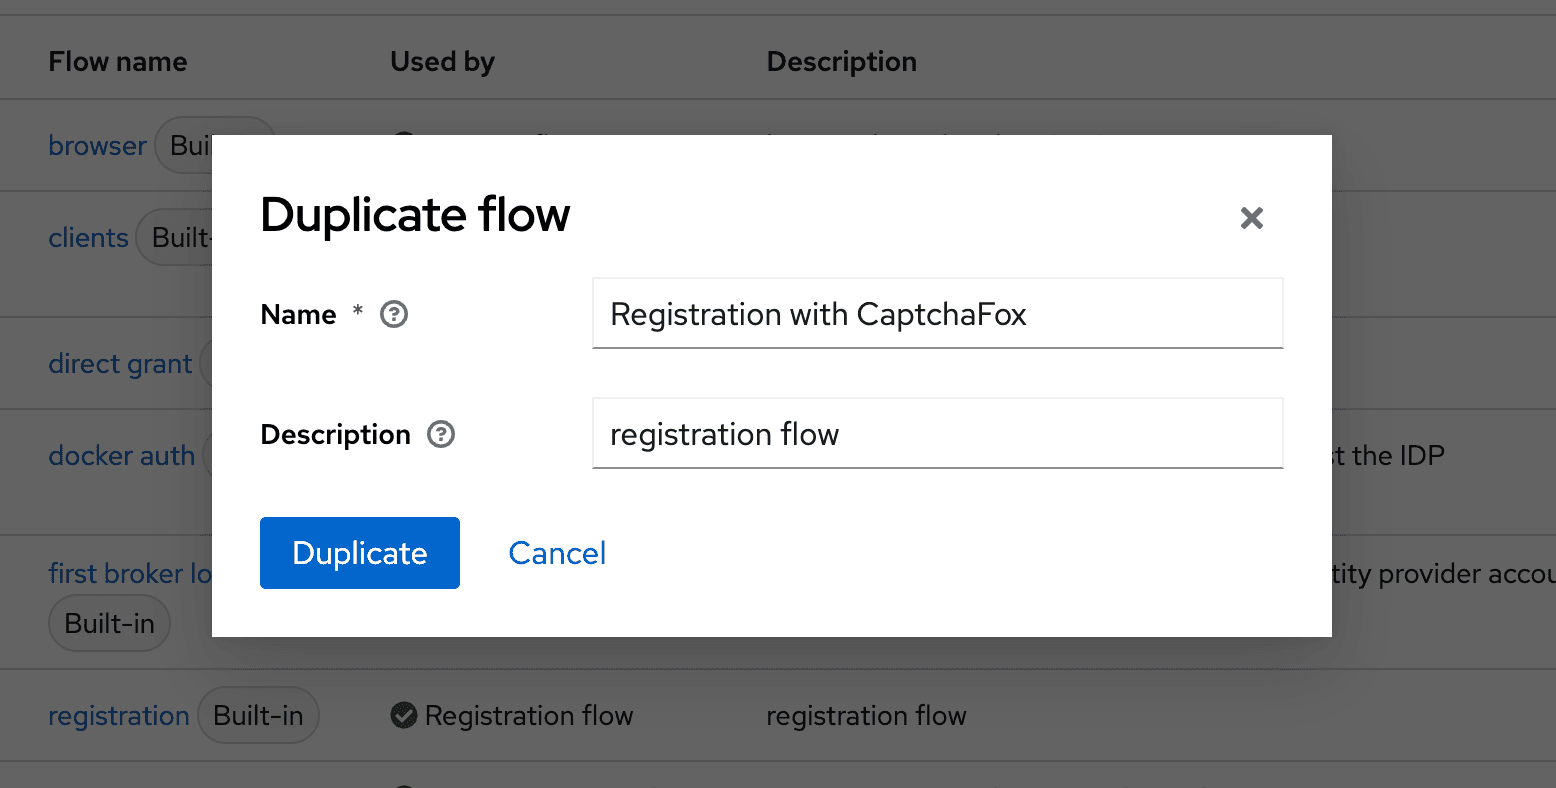
Here, duplicate the Registration flow, give it a name and open it.
Next, remove the Recaptcha step from the form.
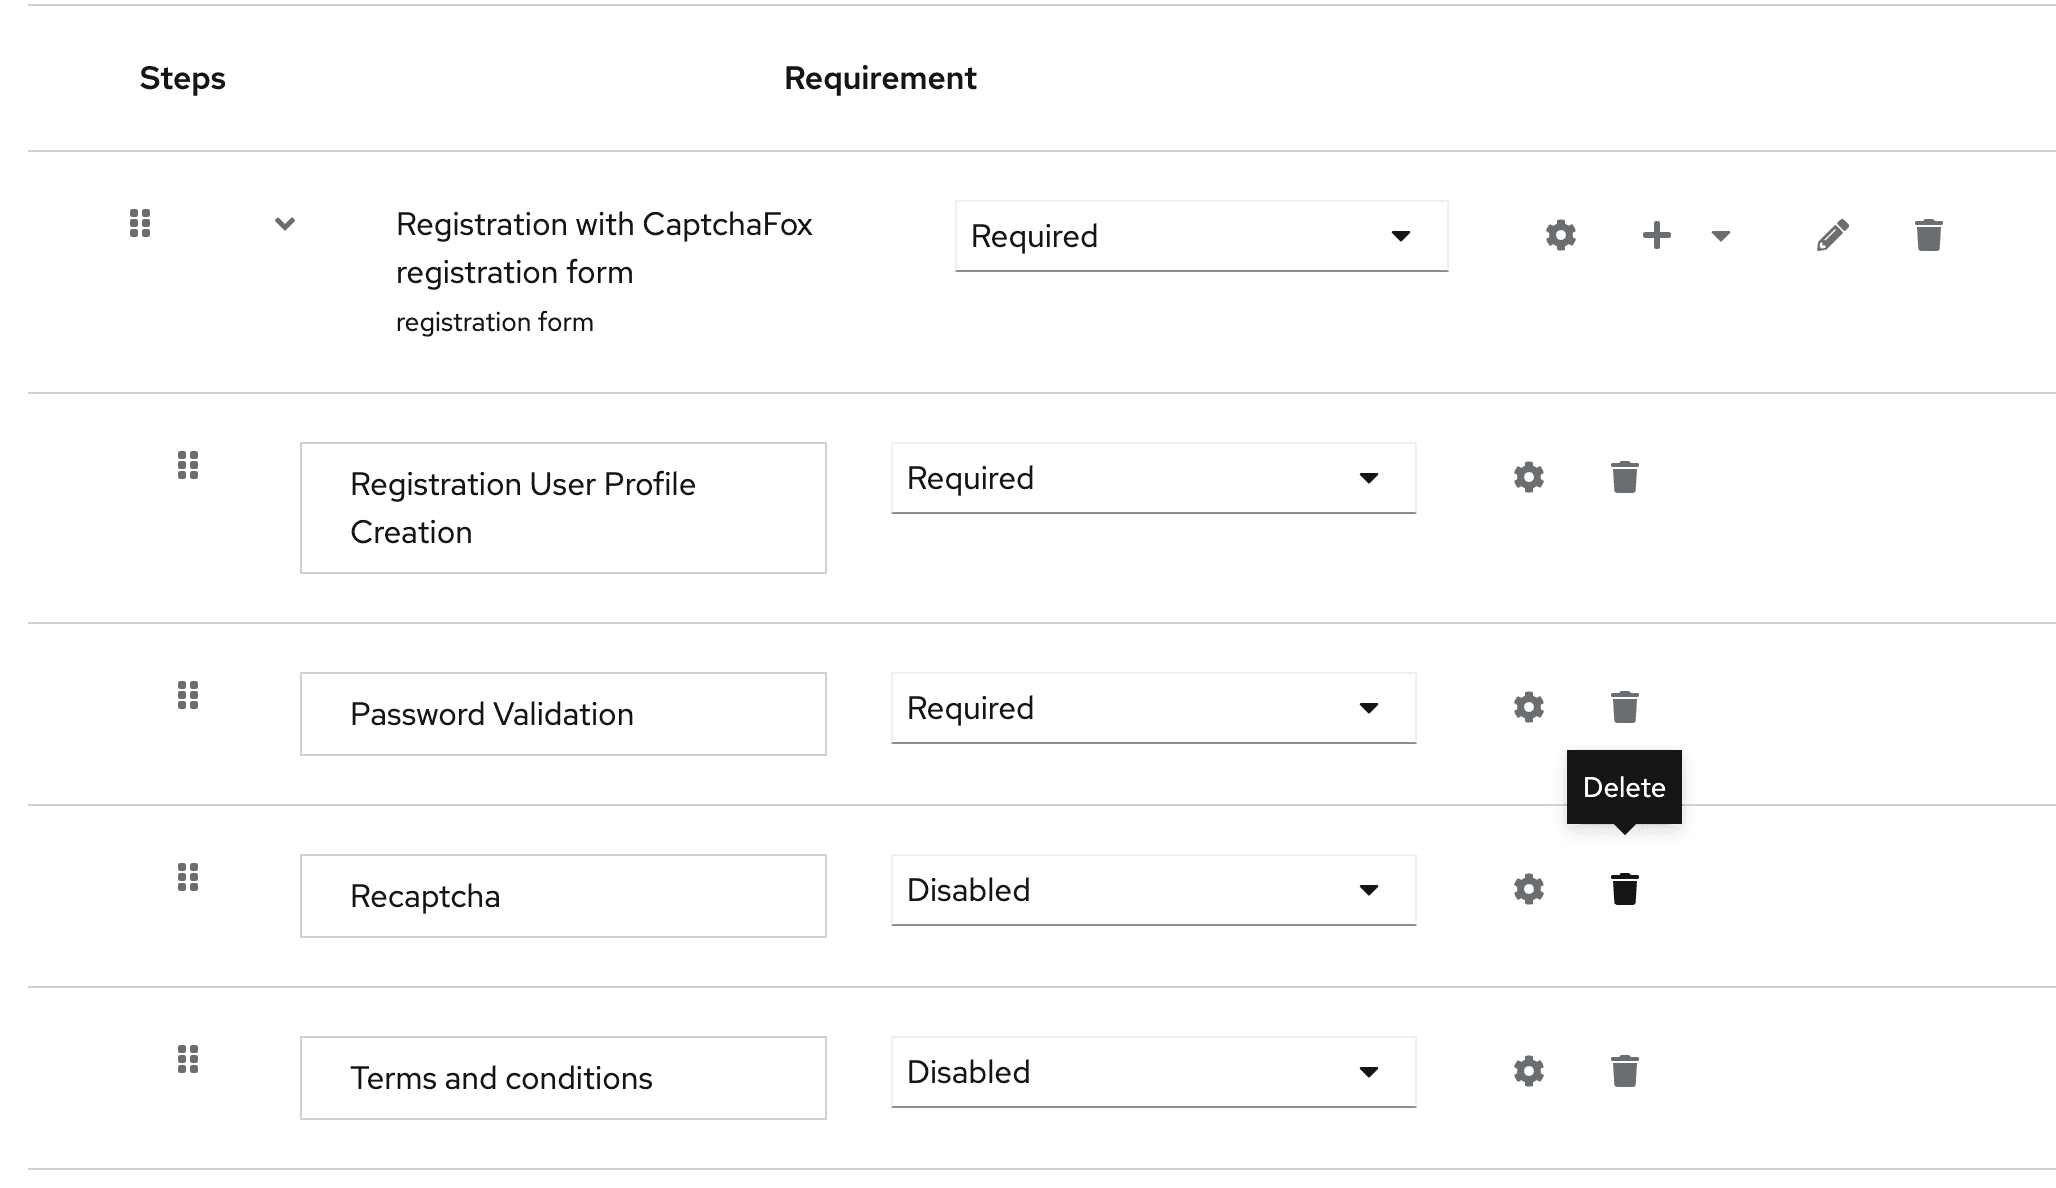
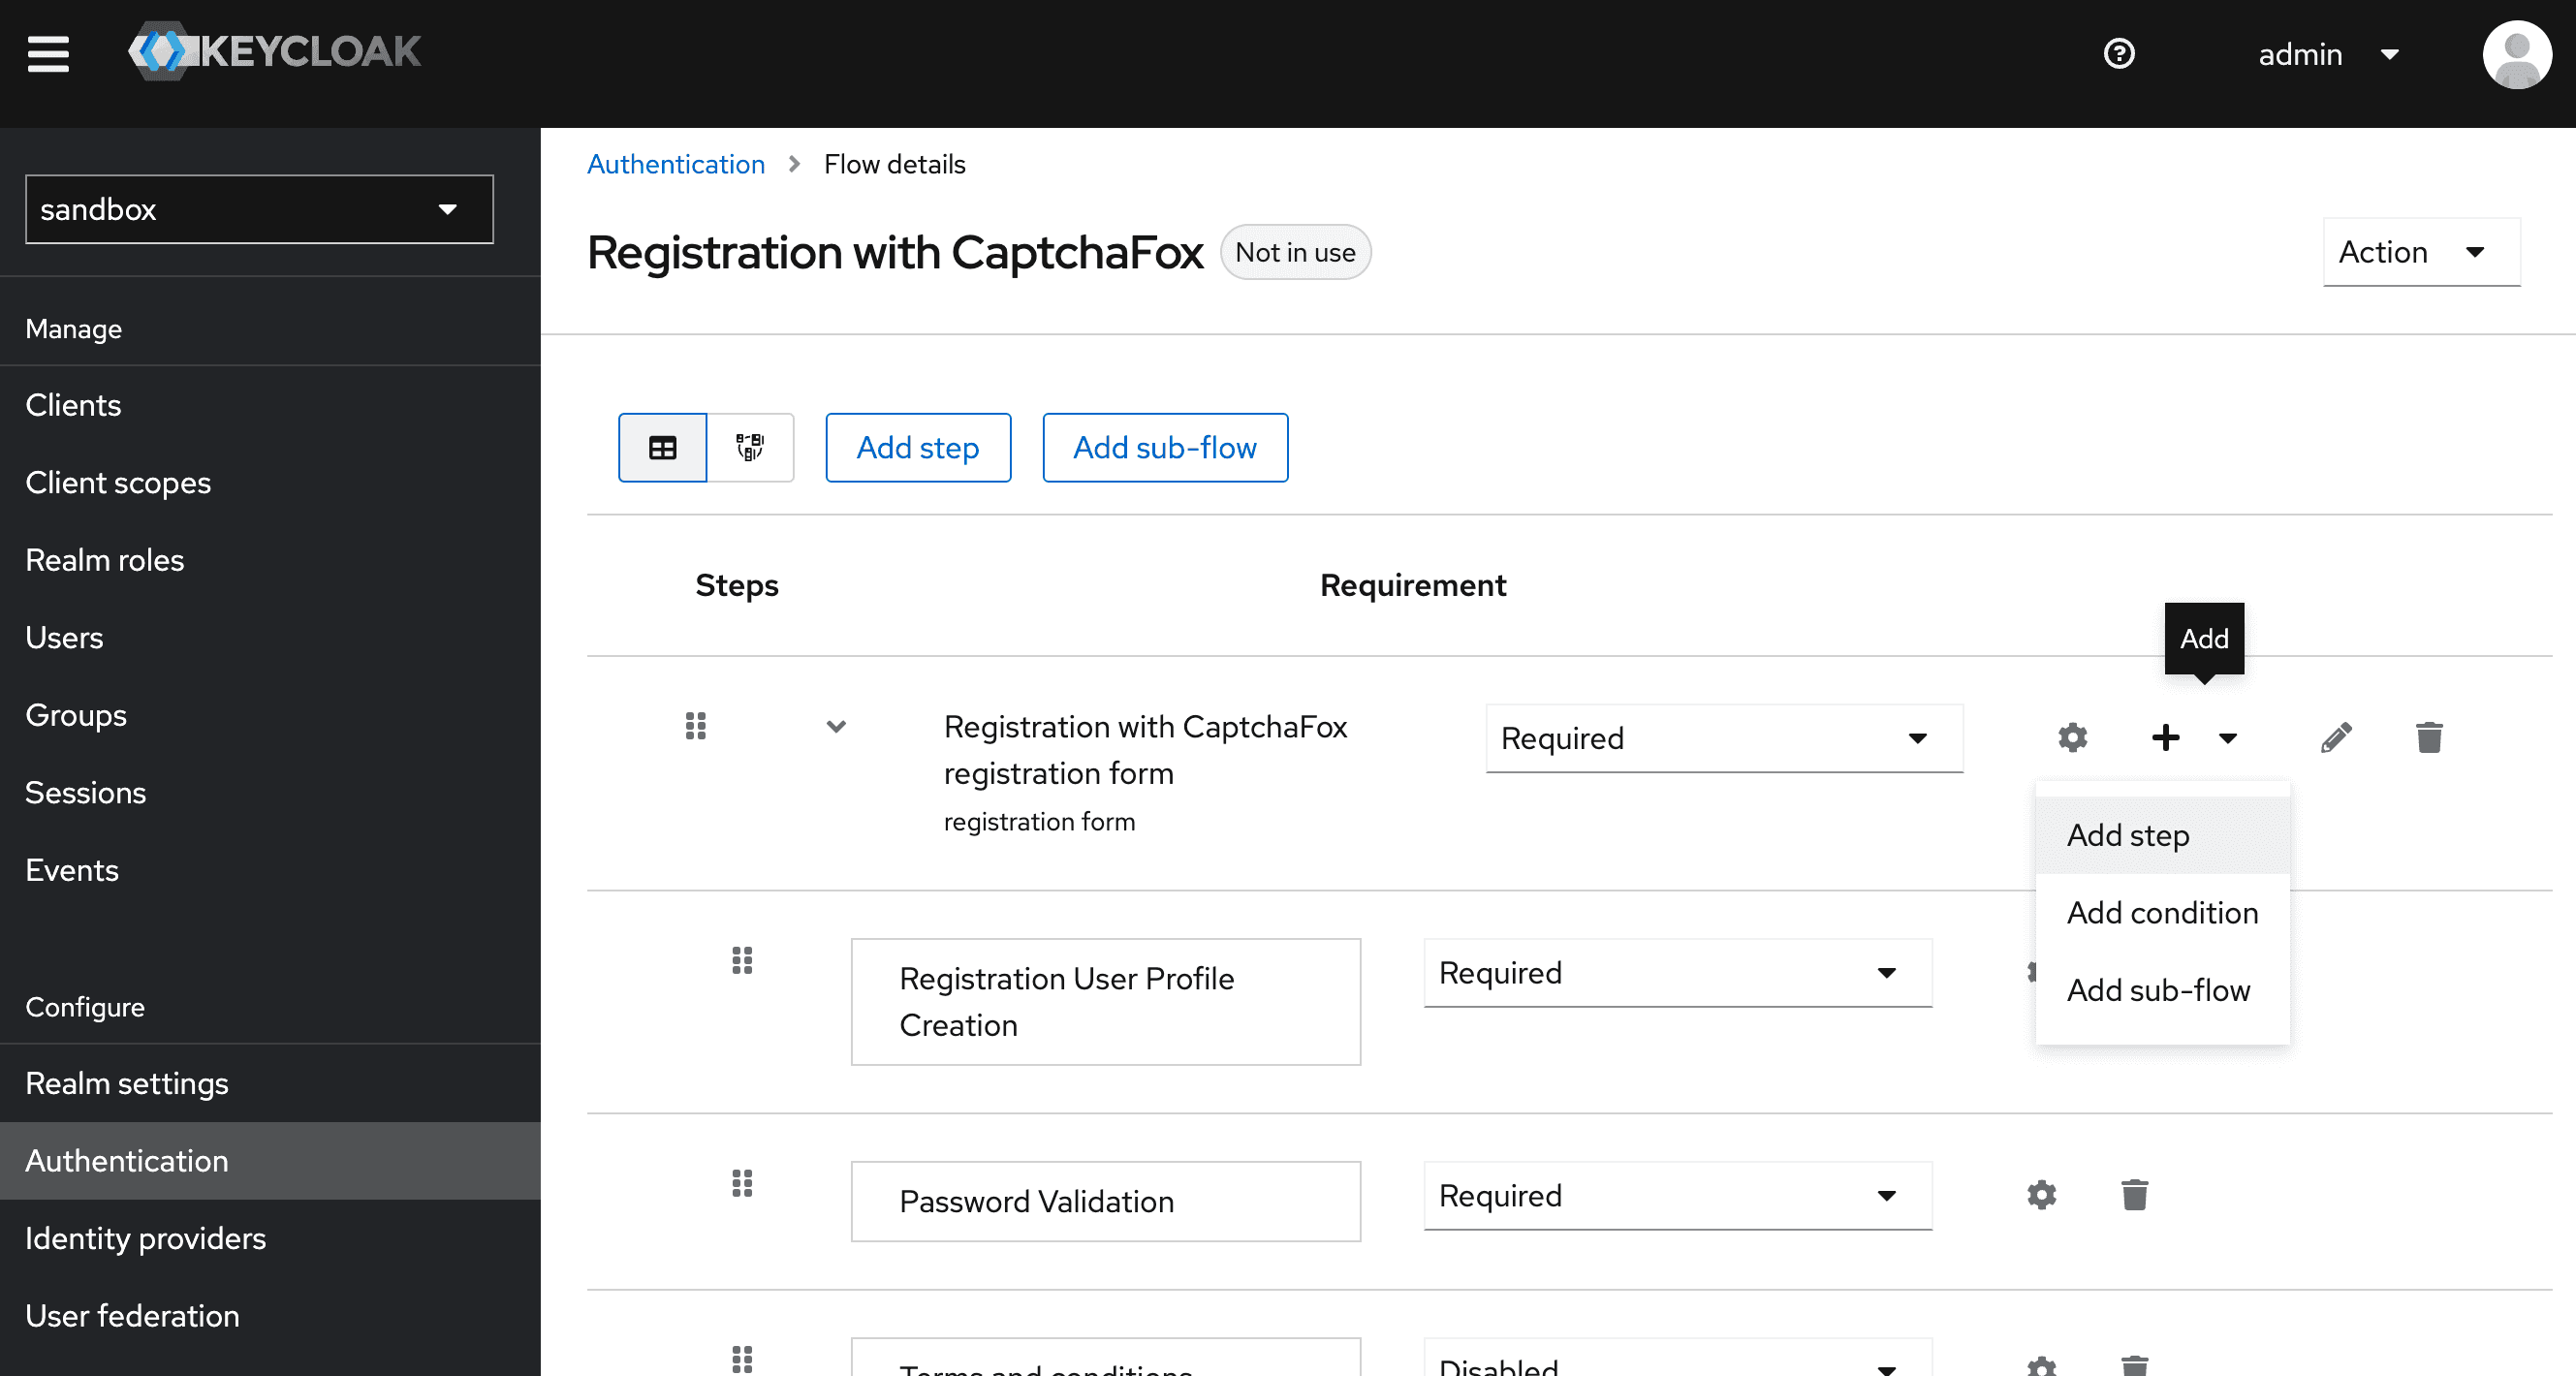
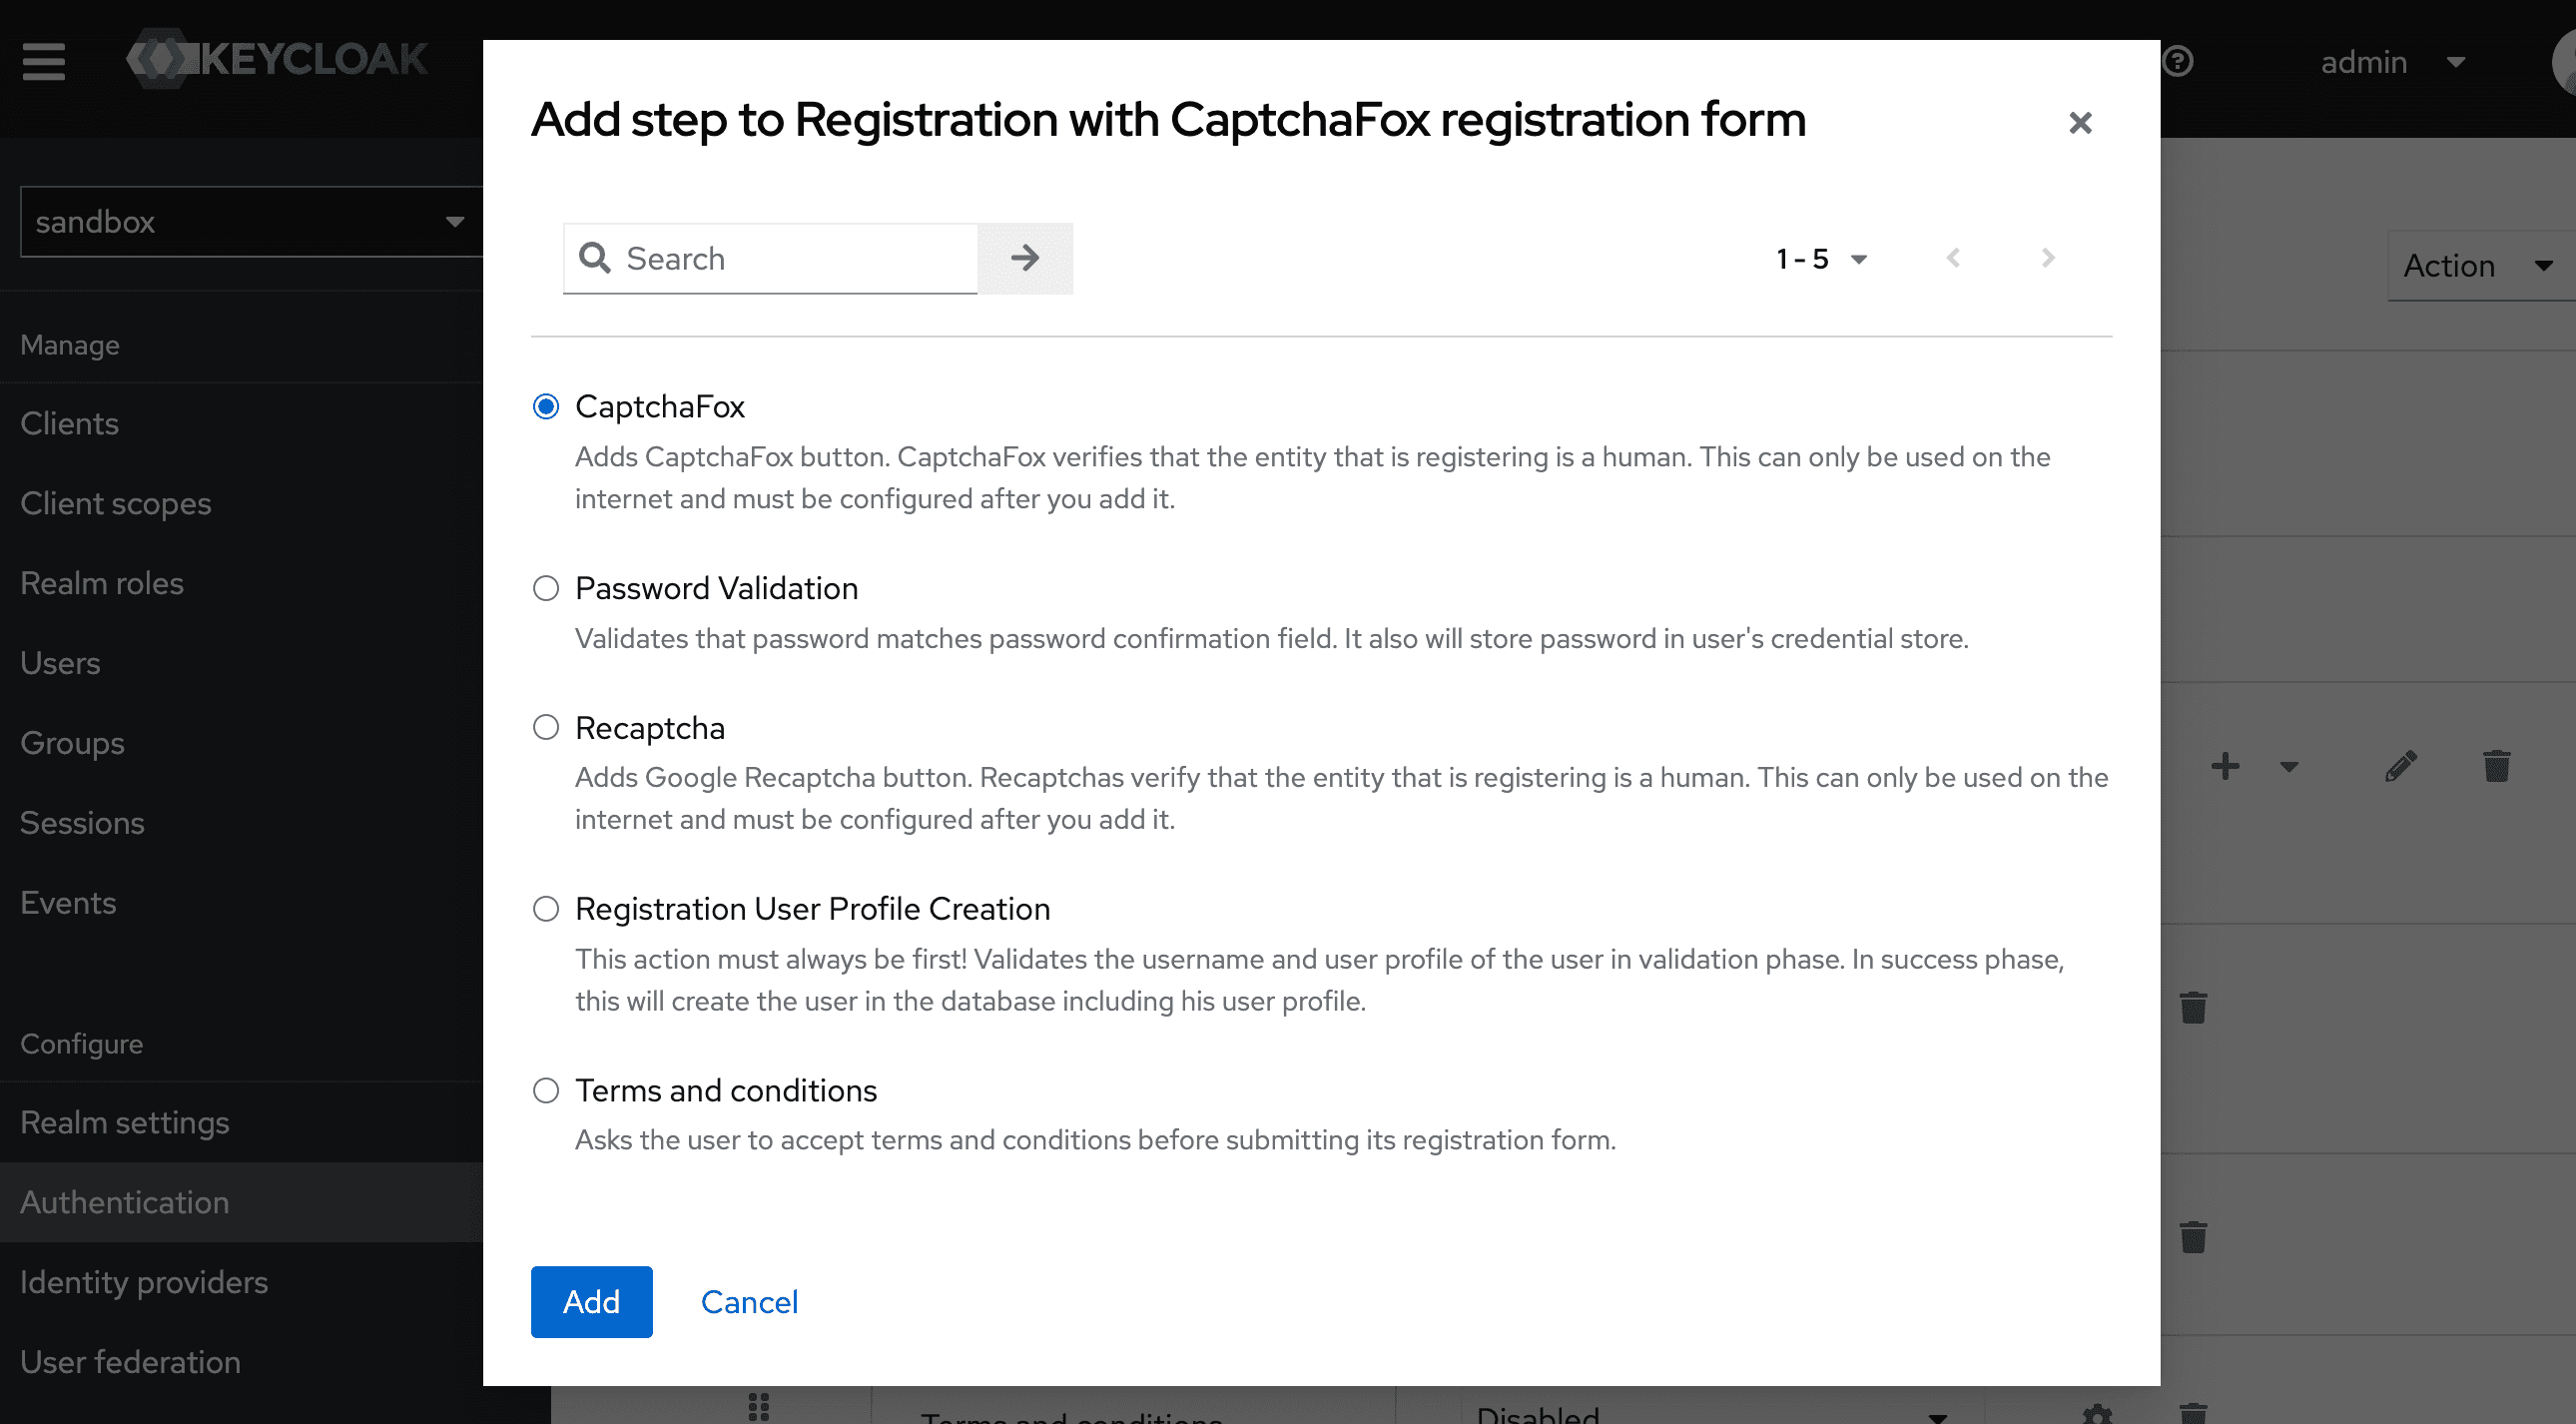
Now, add the CaptchaFox execution step to the Registration Form.
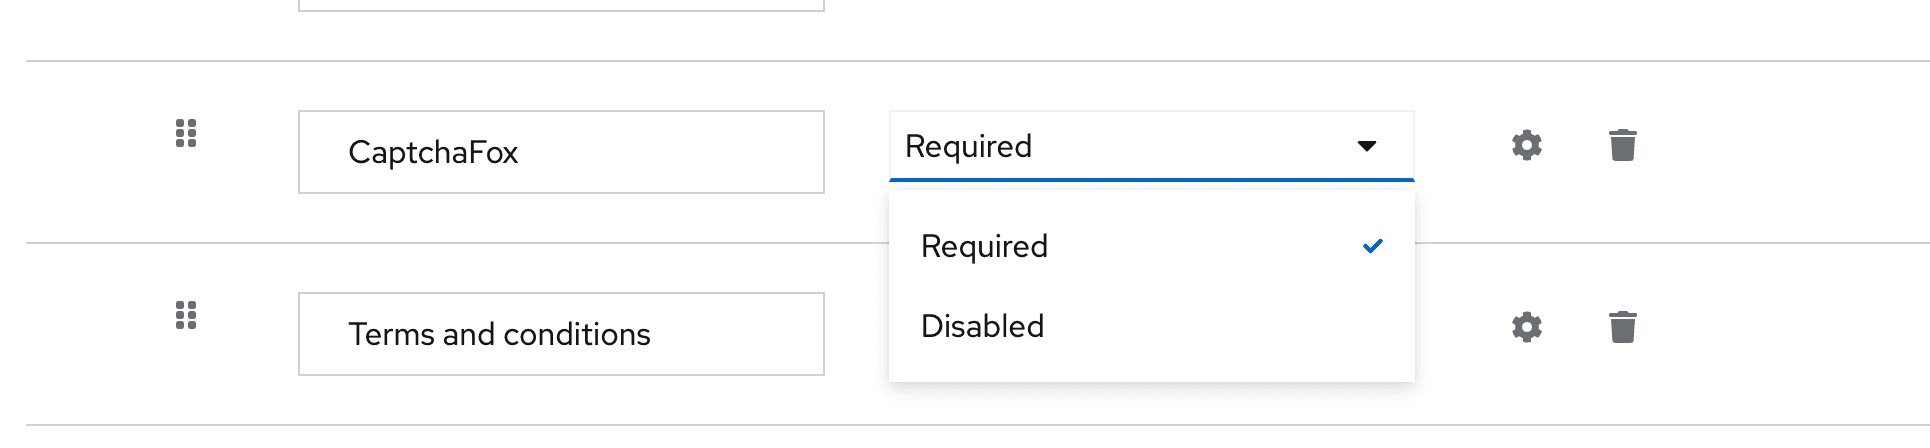
In the dropdown next to the name, set the requirement to Required to show CaptchaFox on the form later.
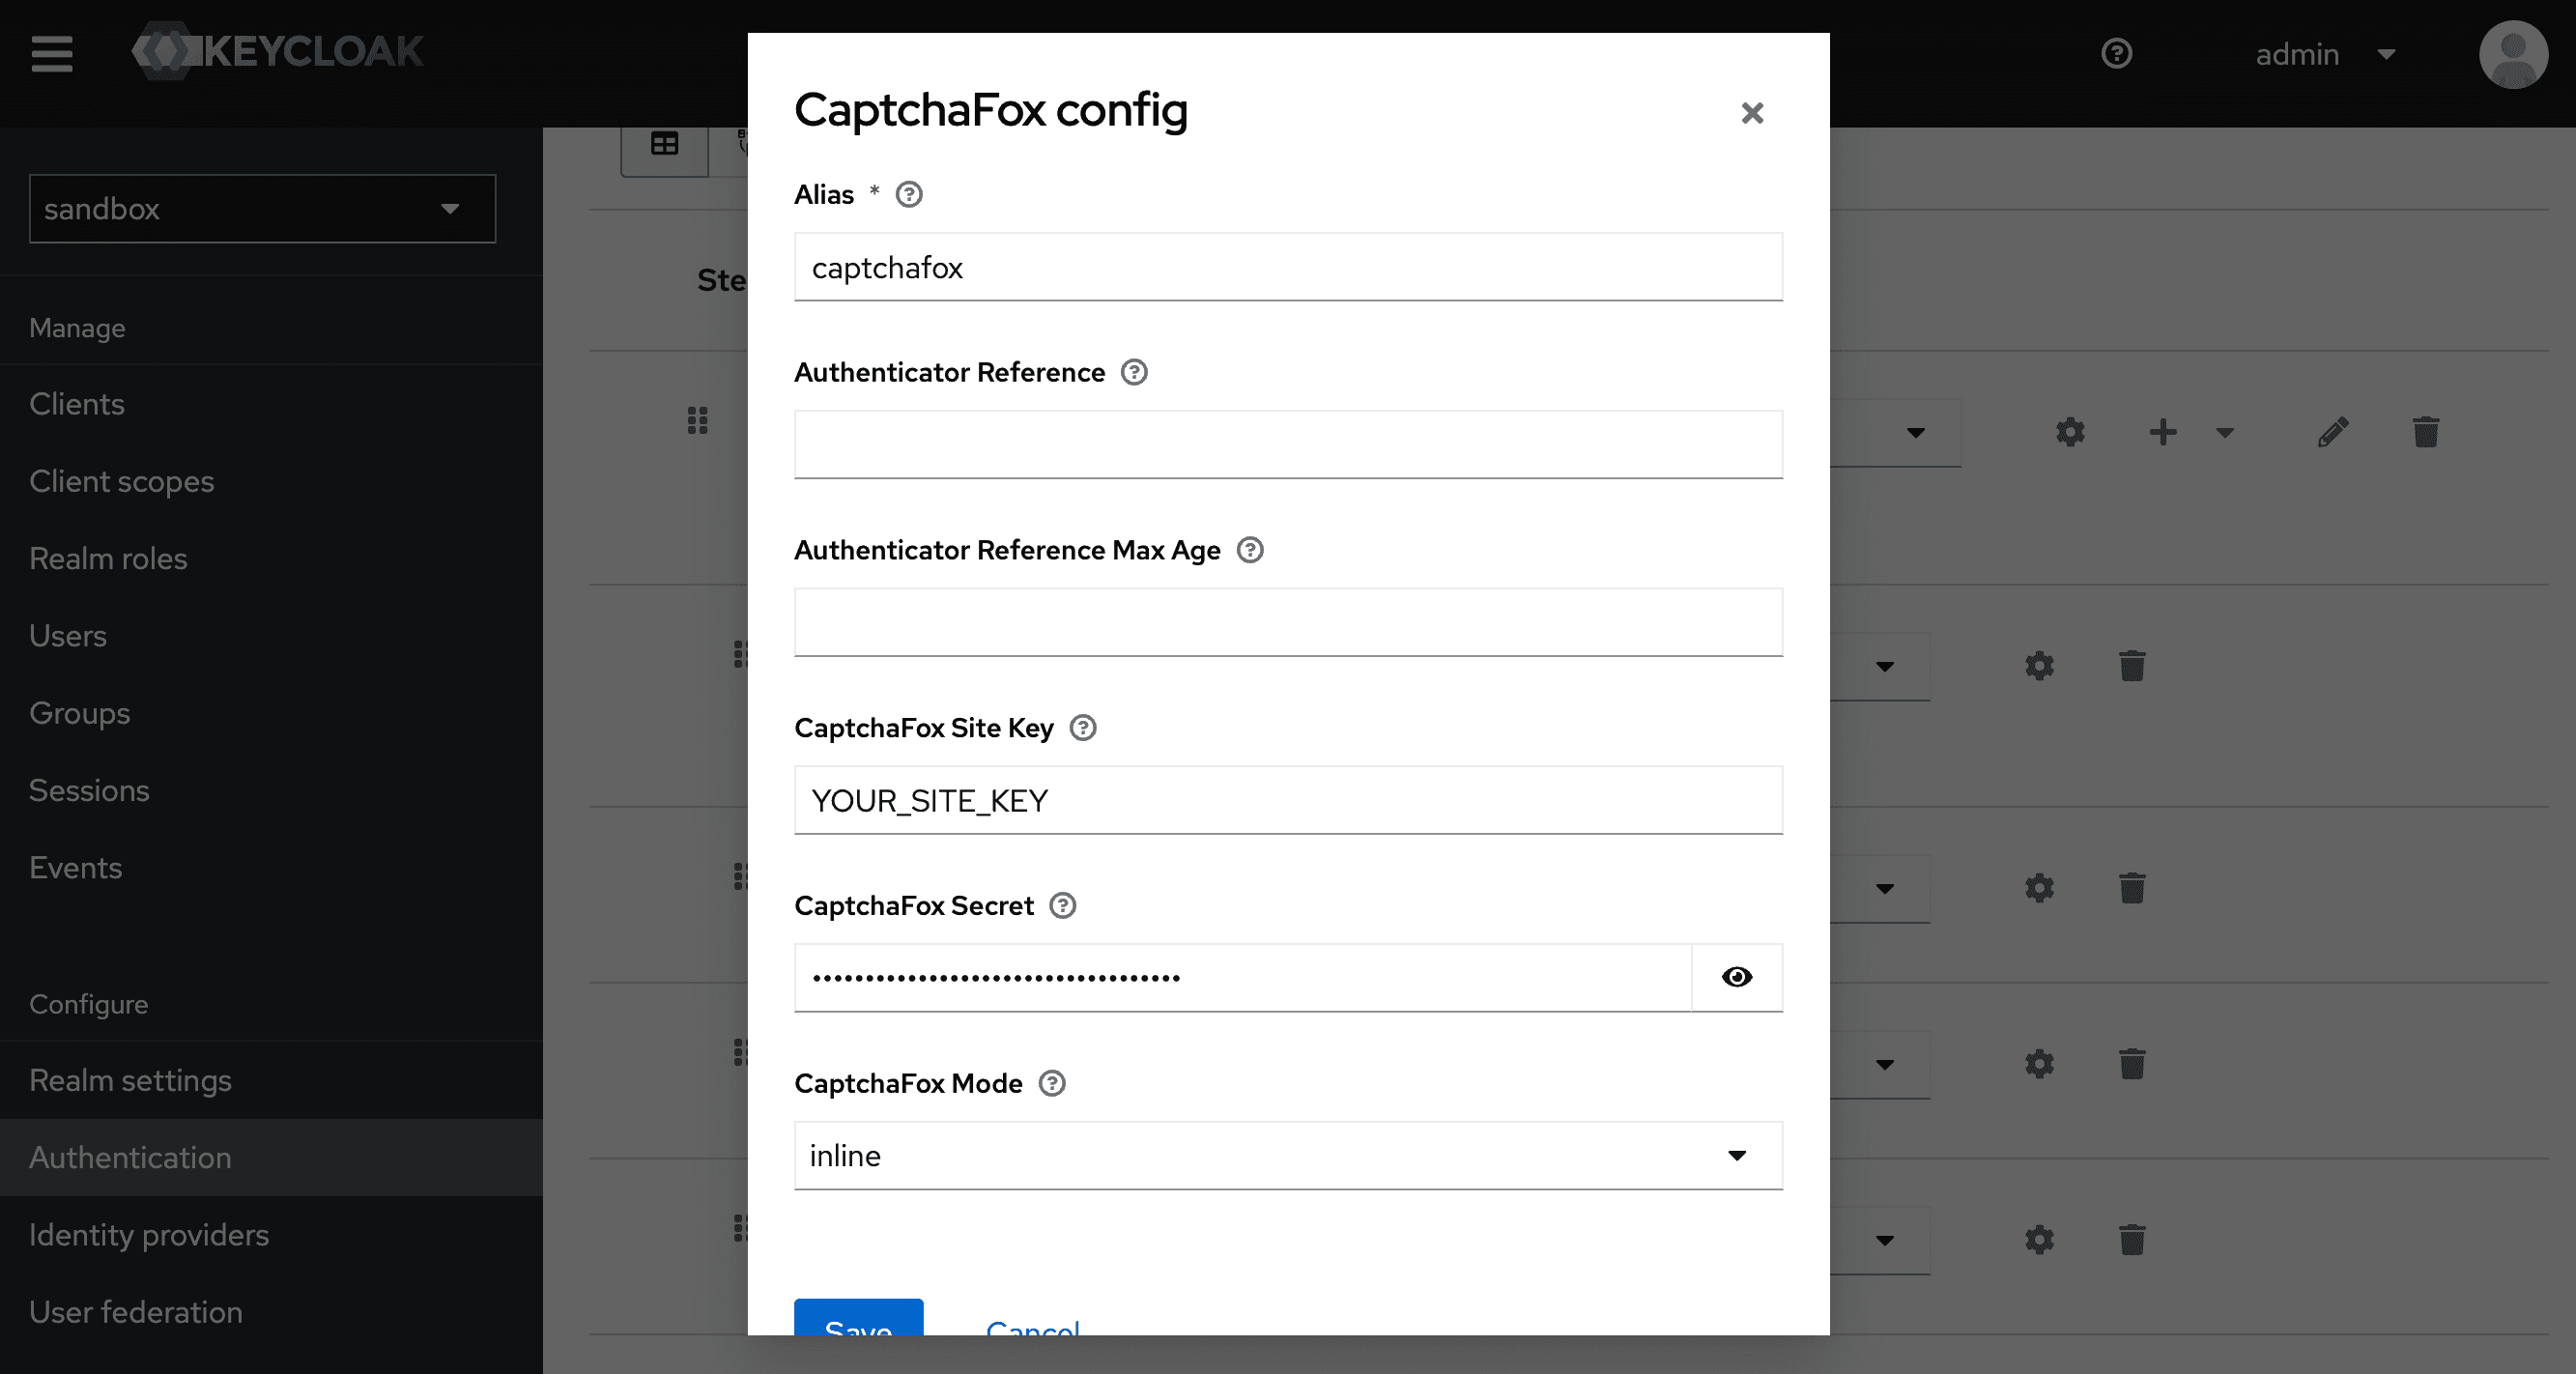
Next, click on the cog icon to open the step settings. There, set an alias and enter your Site Key and Secret Key from your CaptchaFox Admin Portal.
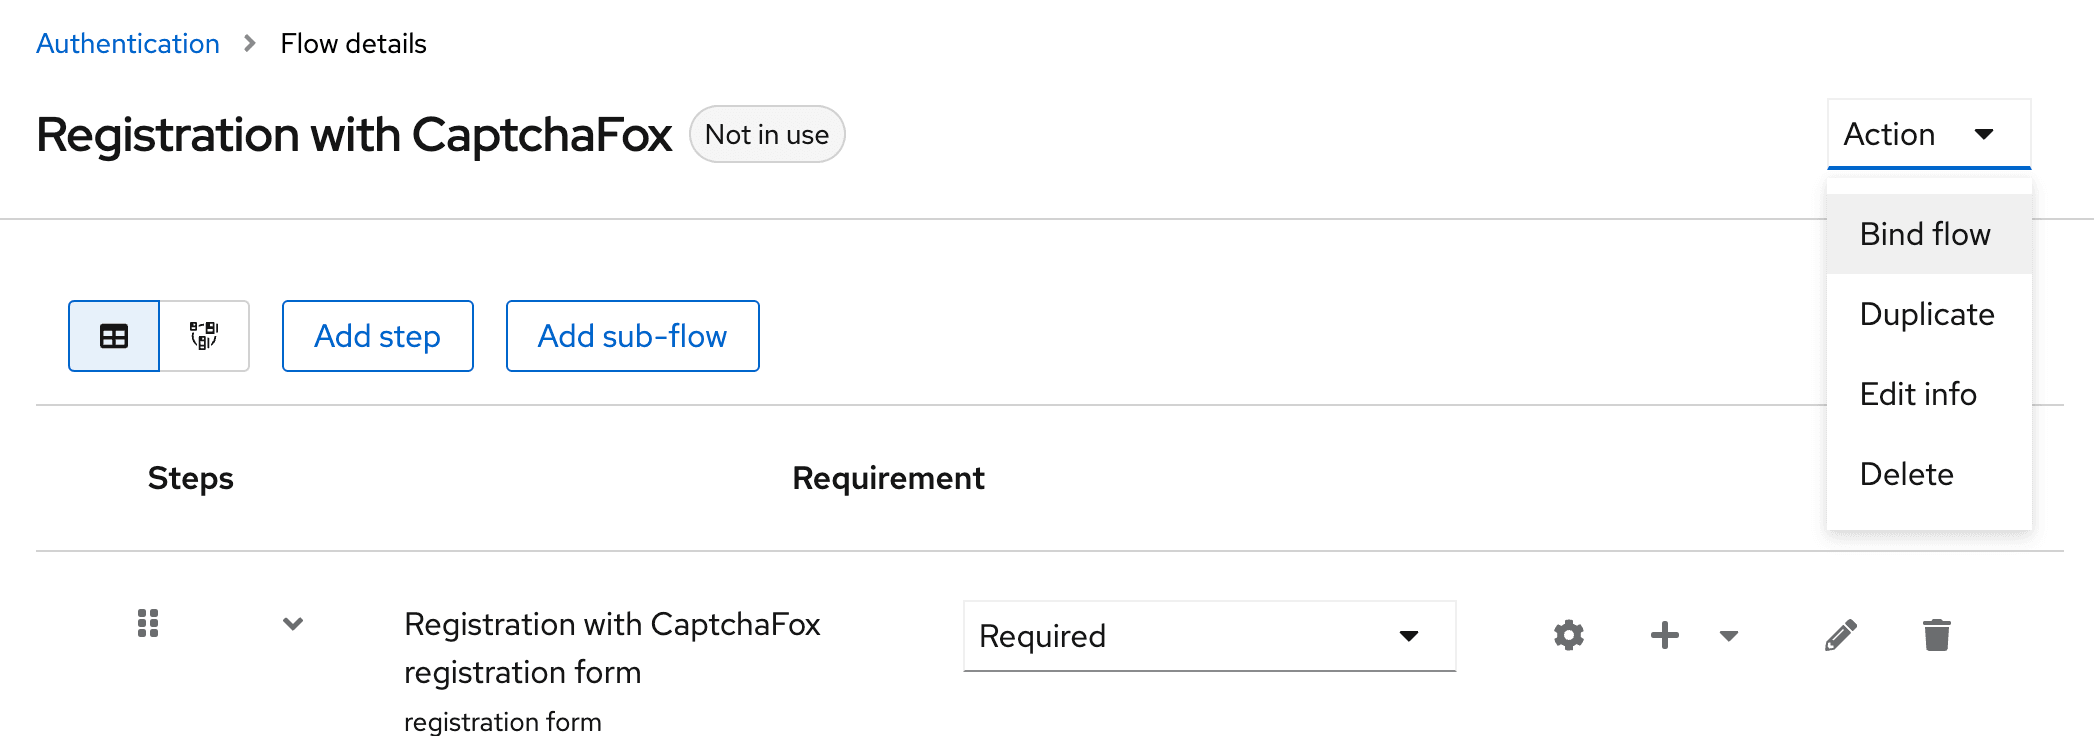
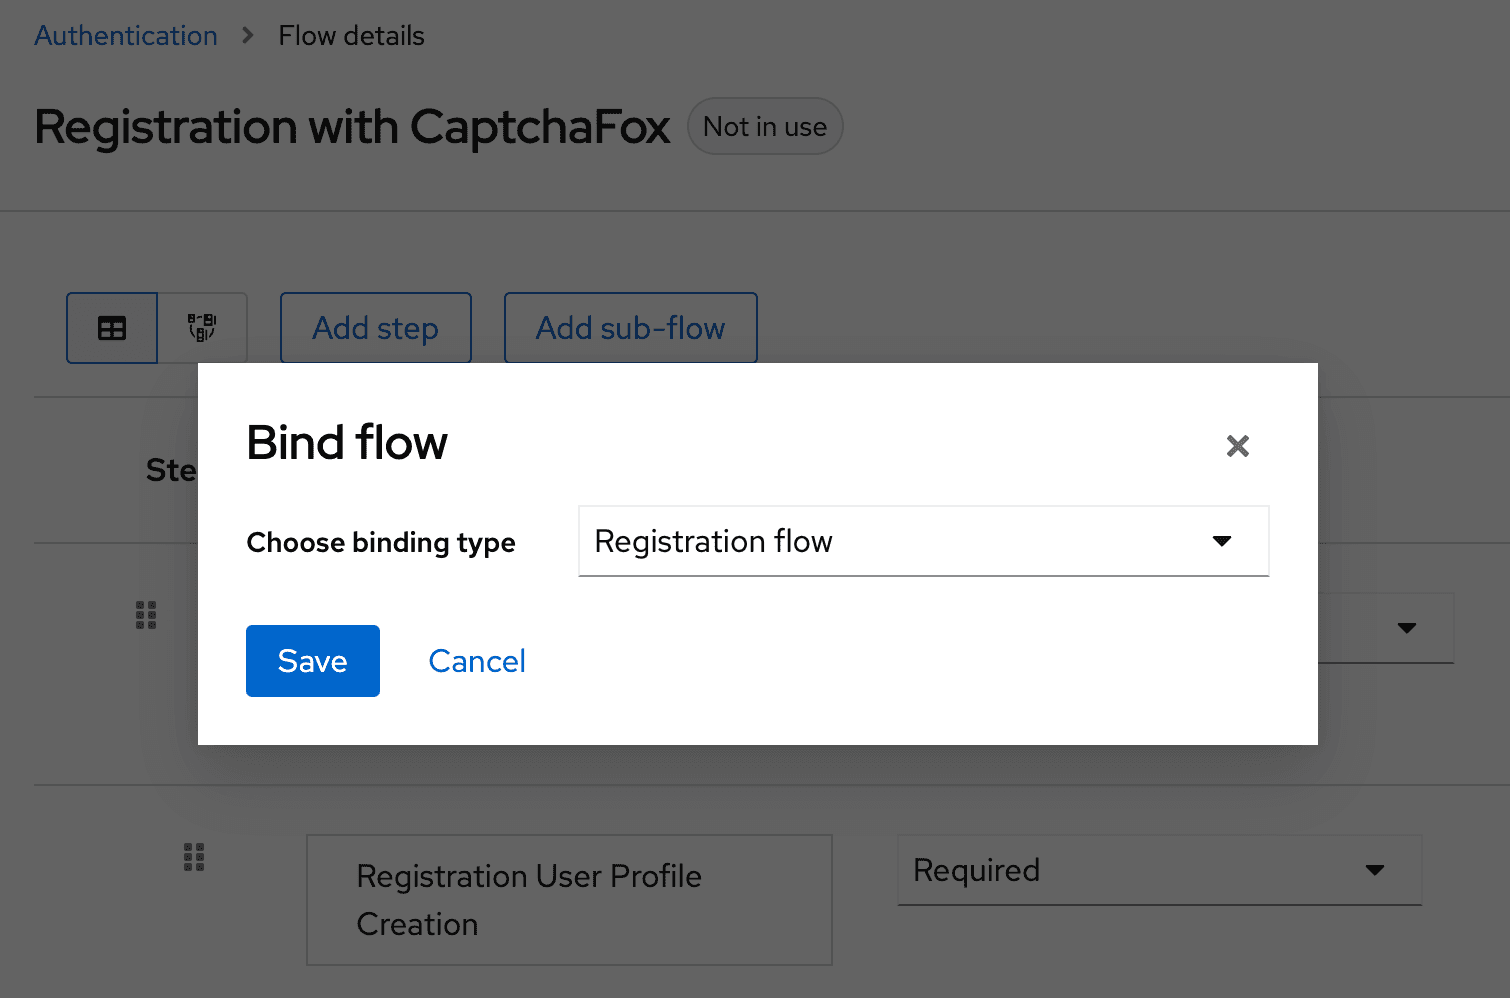
The final step in the Keycloak Admin Console is to bind the registration flow to the newly created one.
Update the template
To show the CaptchaFox widget on your form HTML, you need to also modify the registration template. You can find the files in your Keycloak installation under themes/base/login/ or your custom theme.
If you use the user profile preview (-Dkeycloak.profile=preview), you need to edit the register-user-profile.ftl, else the register.ftl.
Inside the file, replace the recaptcha code block with the following:
<#if captchaFoxRequired??>
    <div class="form-group">
        <div class="${properties.kcInputWrapperClass!}">
            <div class="captchafox" data-mode="${captchaFoxMode!'inline'}" data-sitekey="${captchaFoxSiteKey}"></div>
        </div>
    </div>
</#if>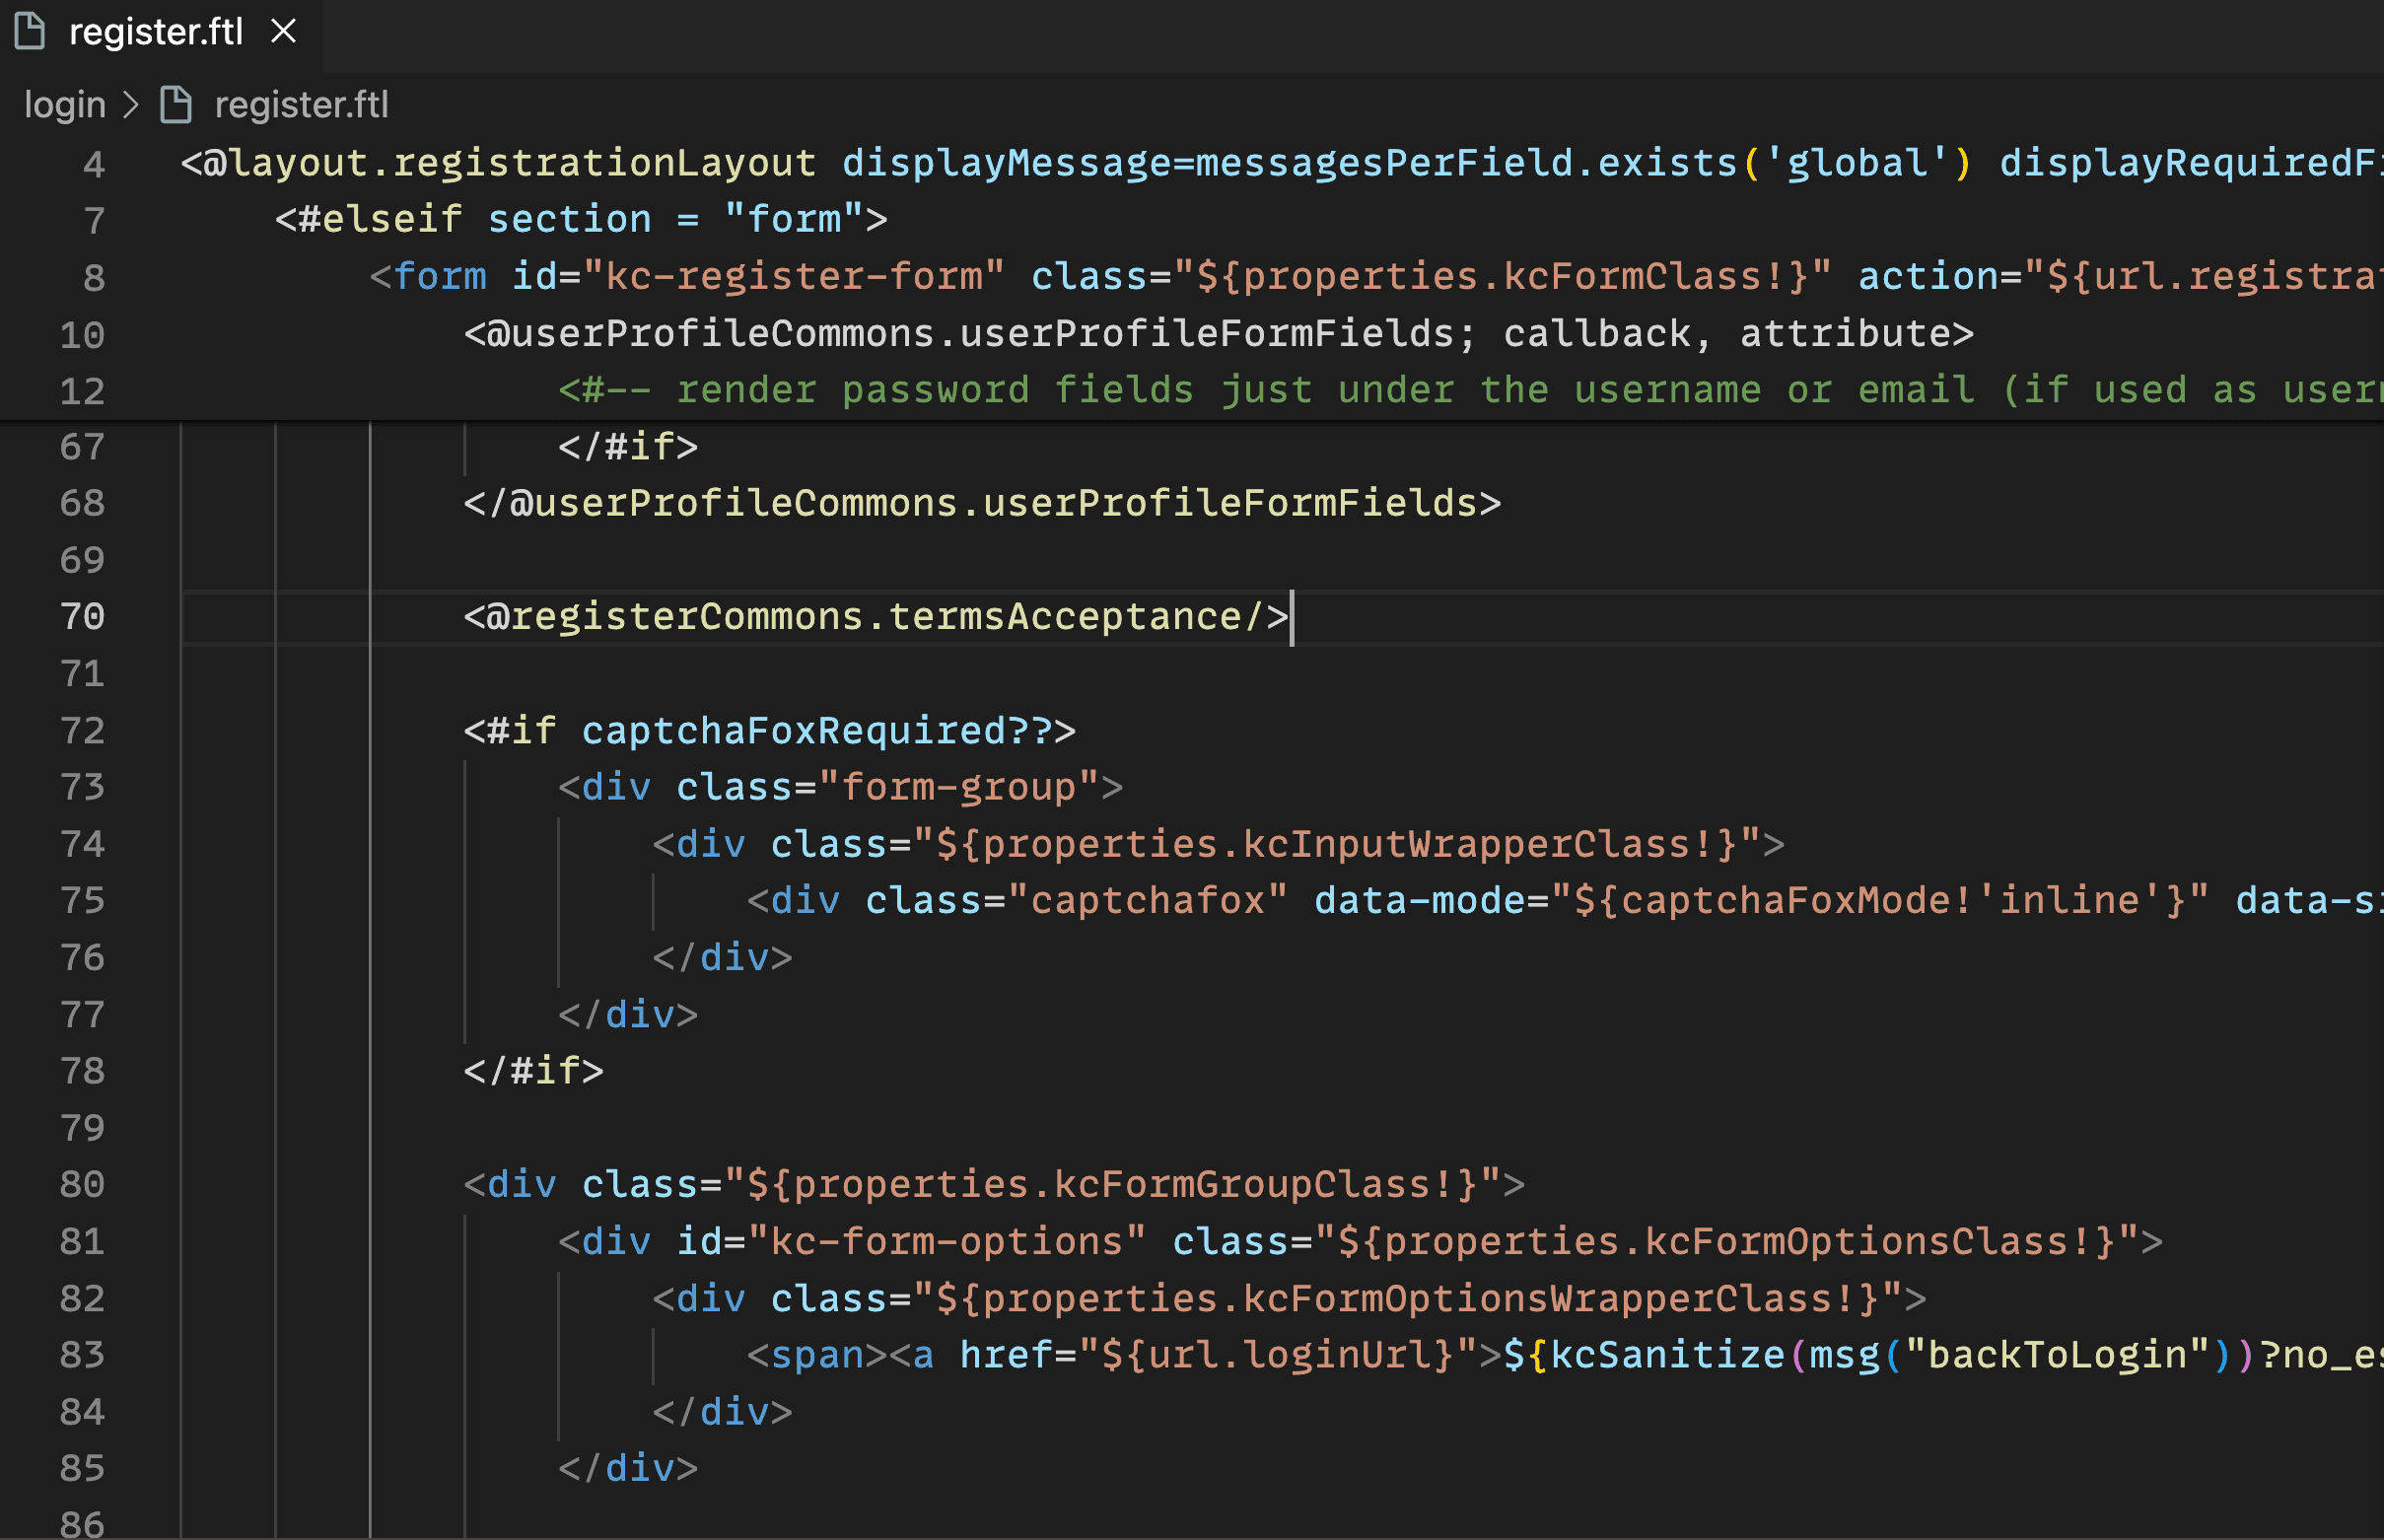
Login
To enable the installed provider for login forms, follow the next steps.
Keycloak Admin Console
Inside your Realm, click on Authentication in the left menu and go to the Flows tab.
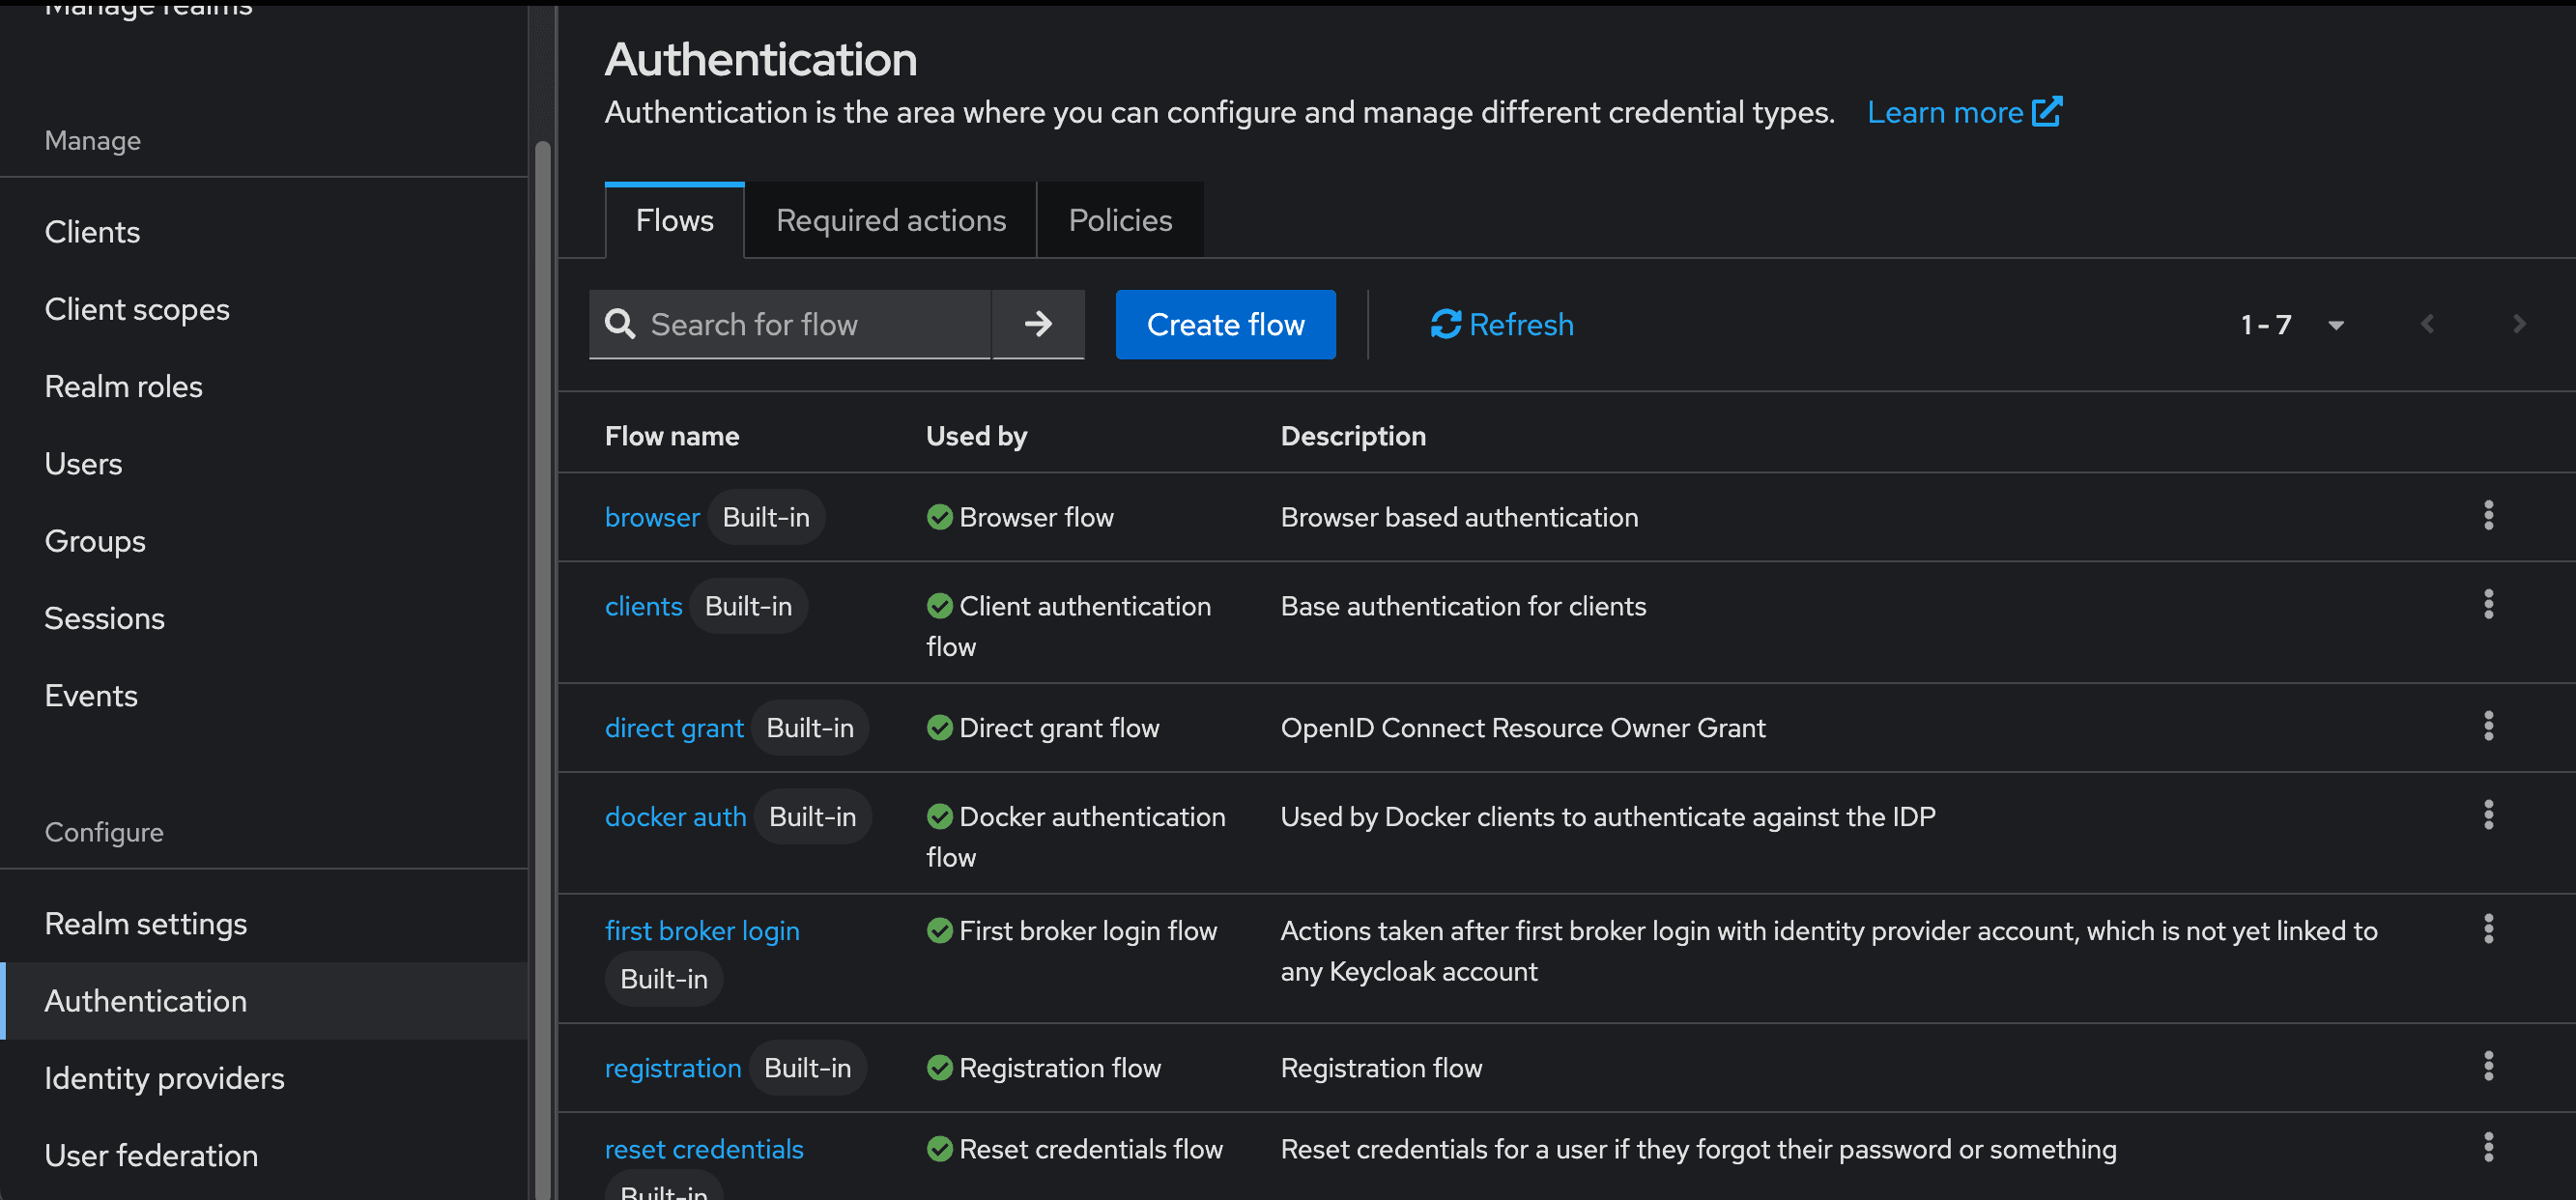
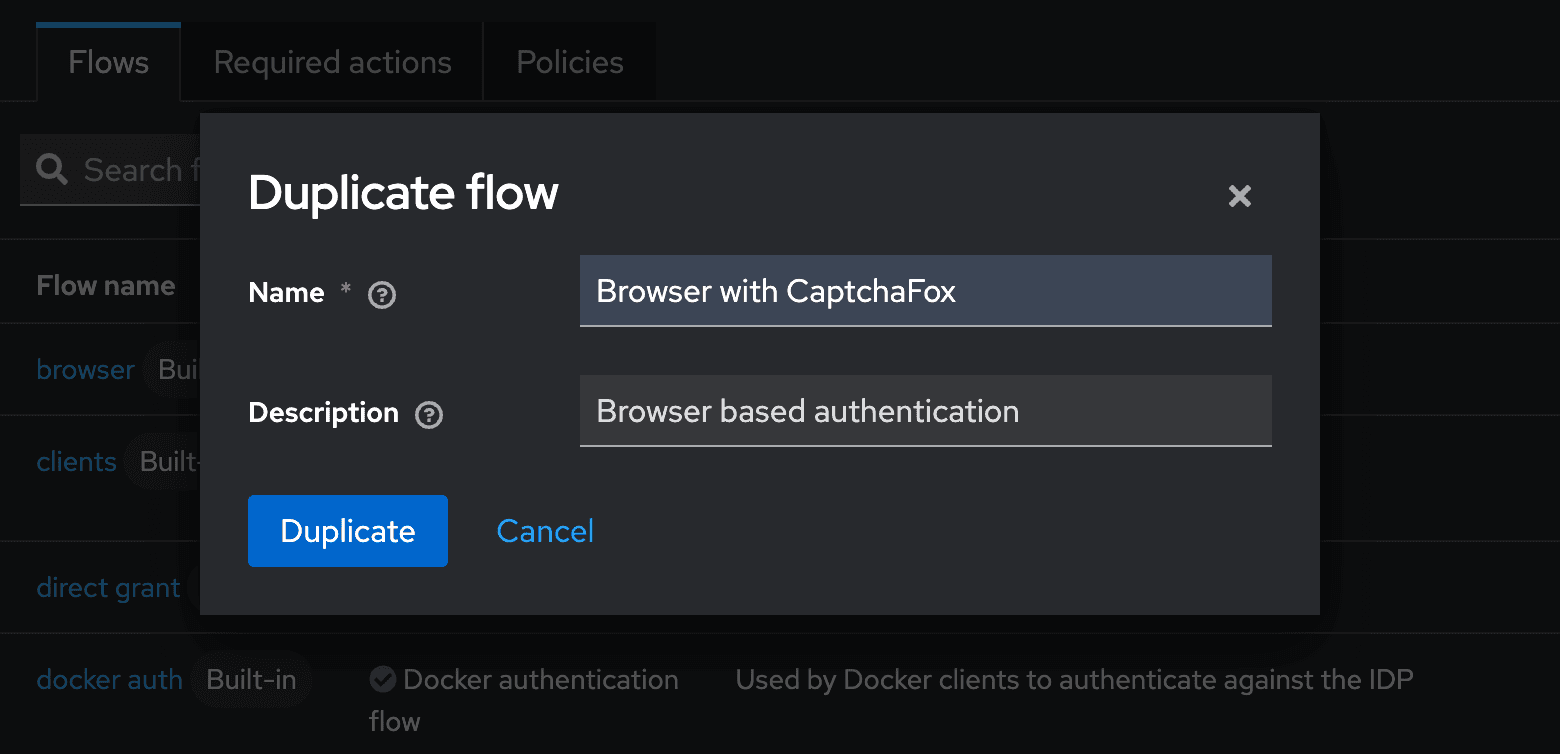
Here, duplicate the Browser flow, give it a name and open it.

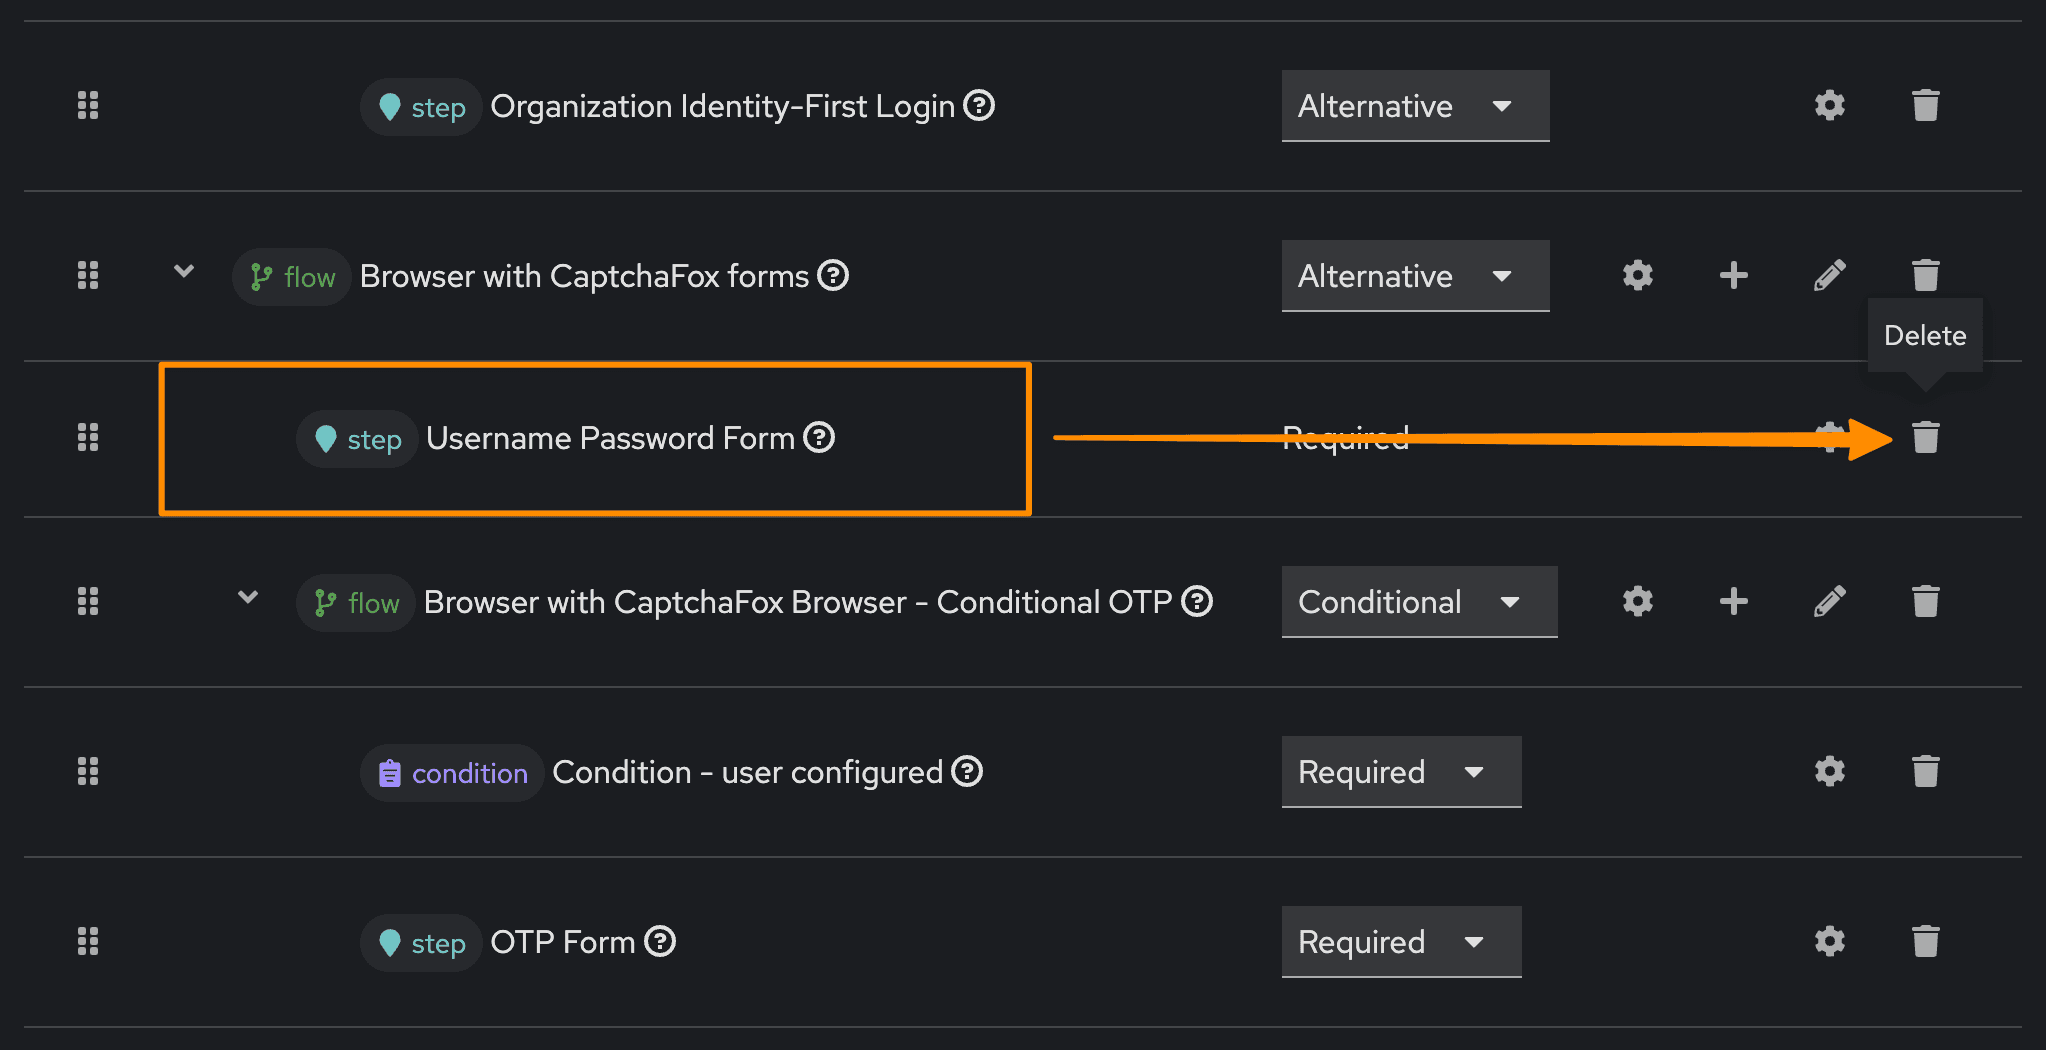
Next, remove the existing step from the form.
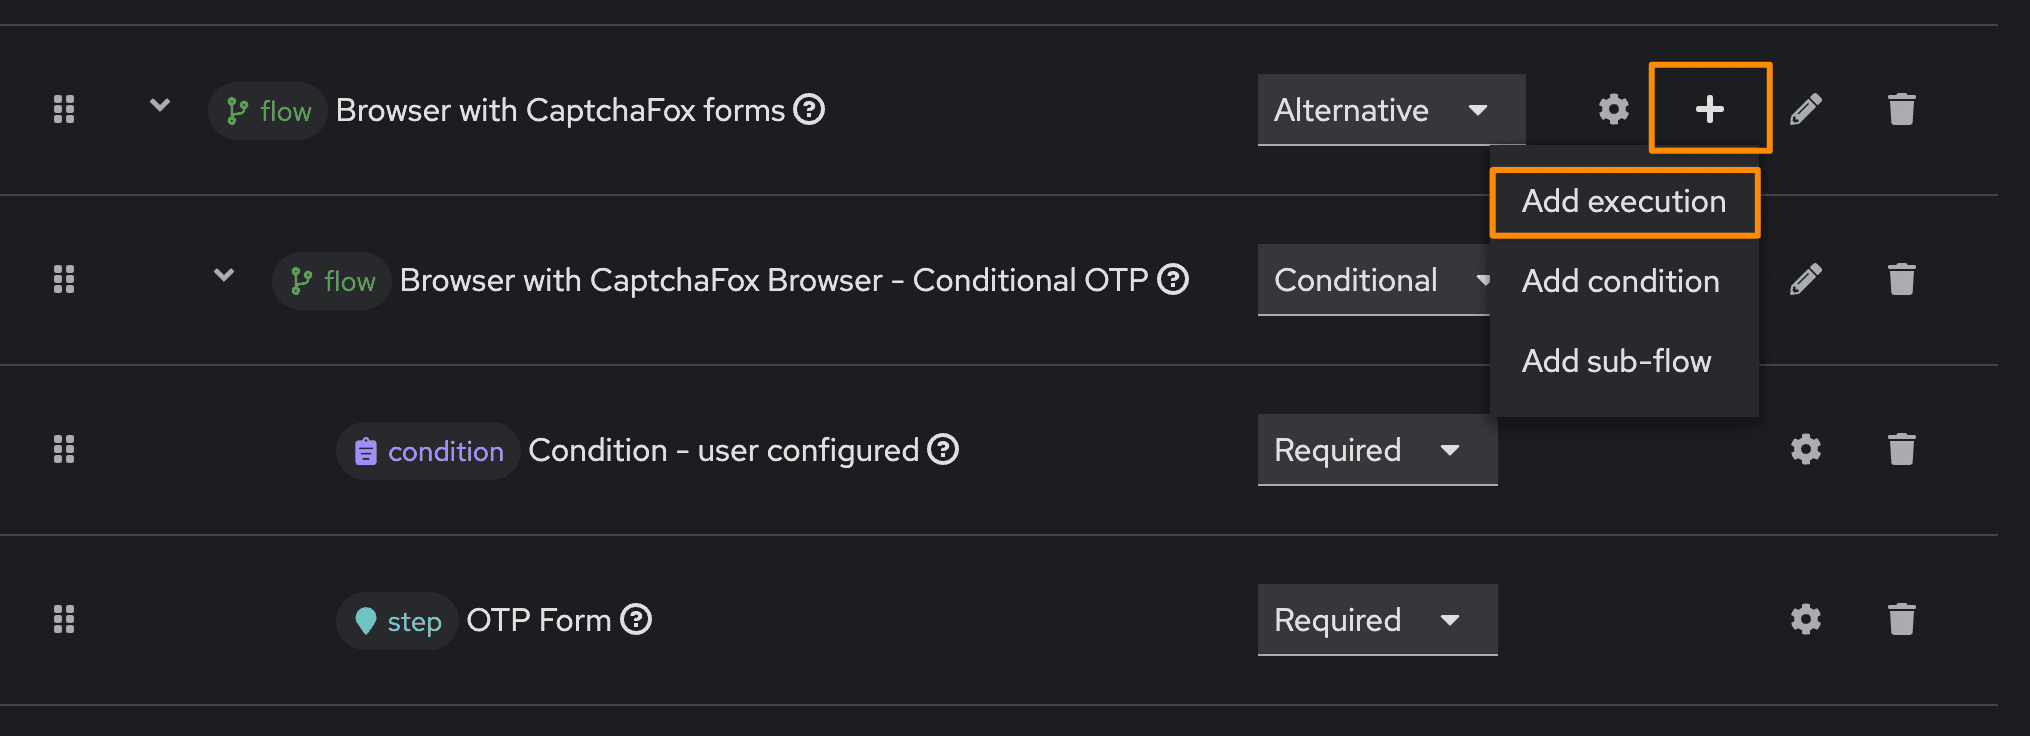
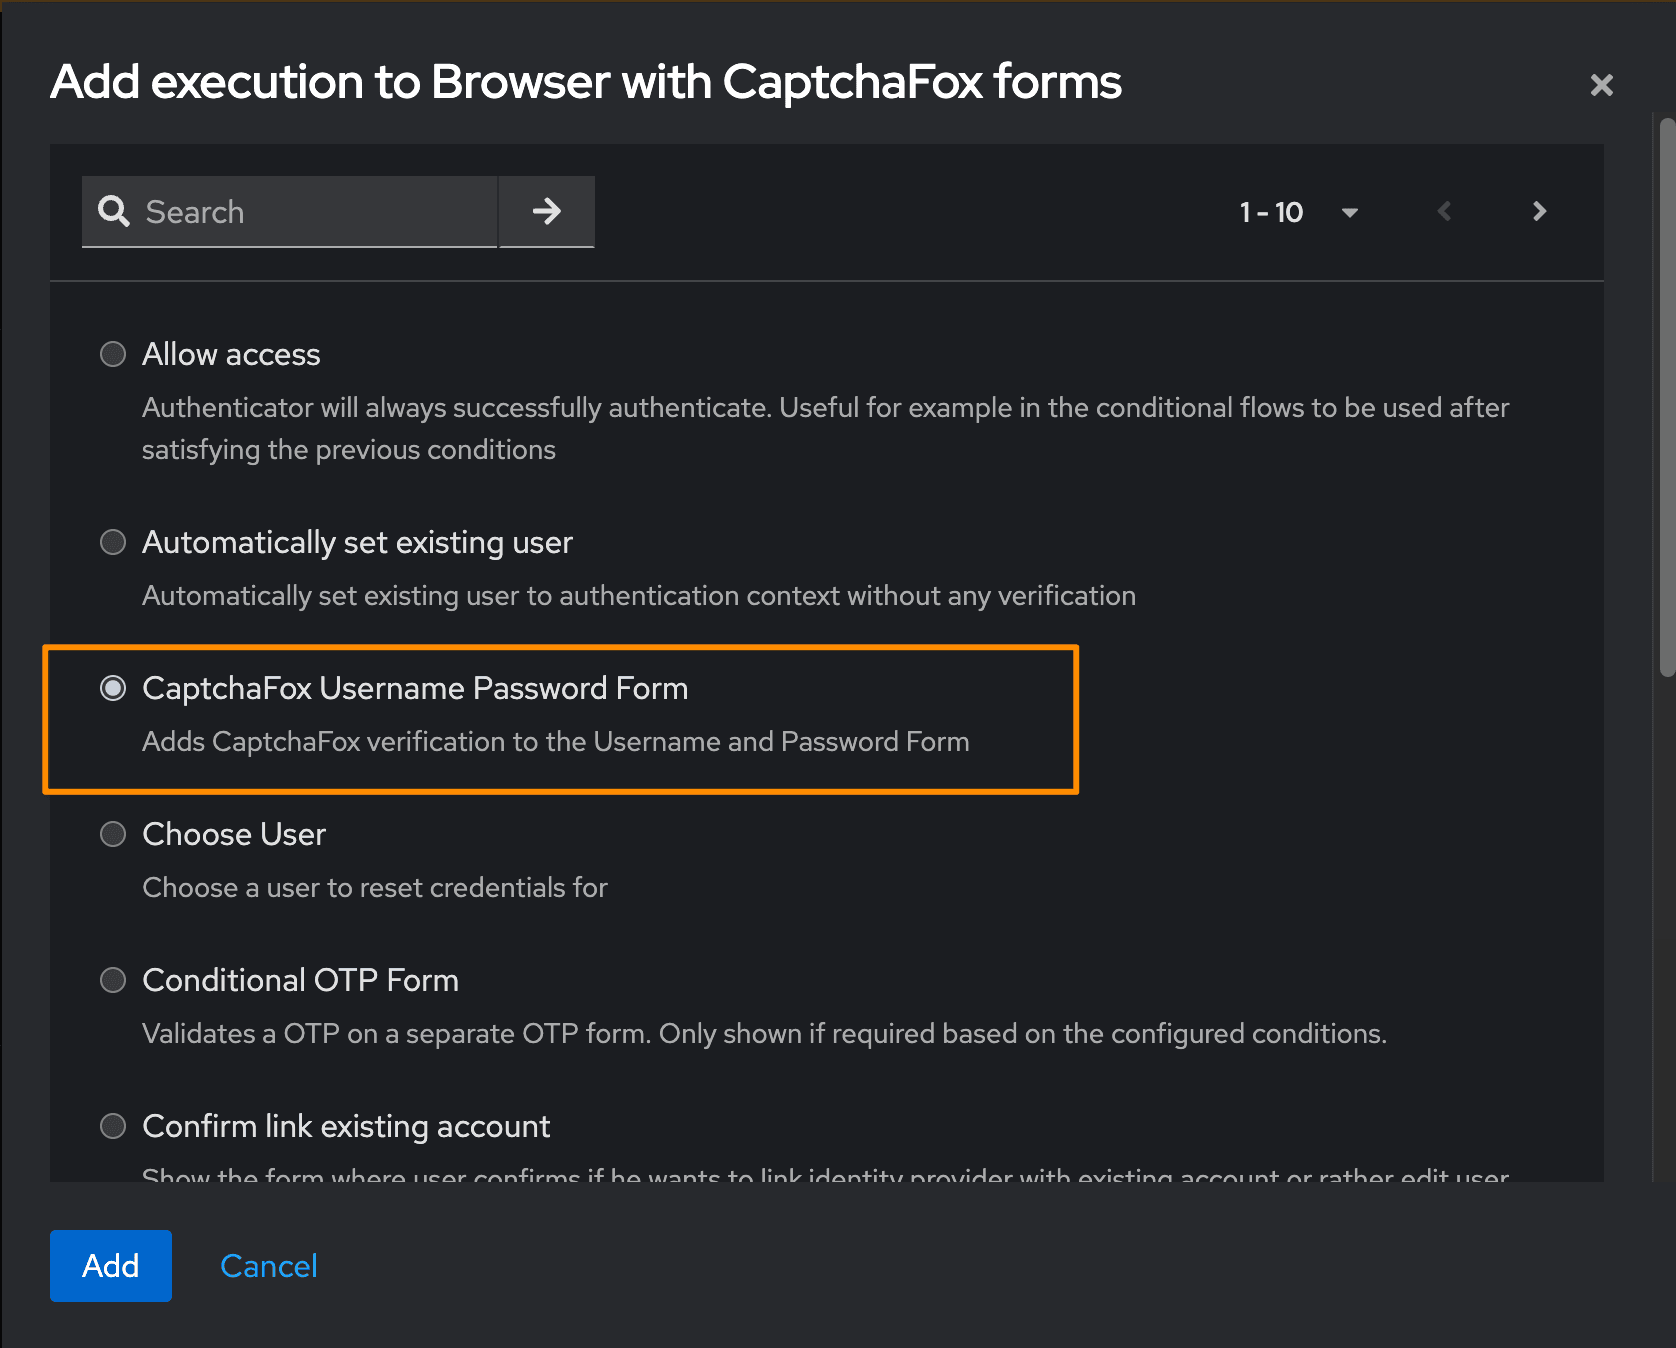
Now, add the CaptchaFox execution step.
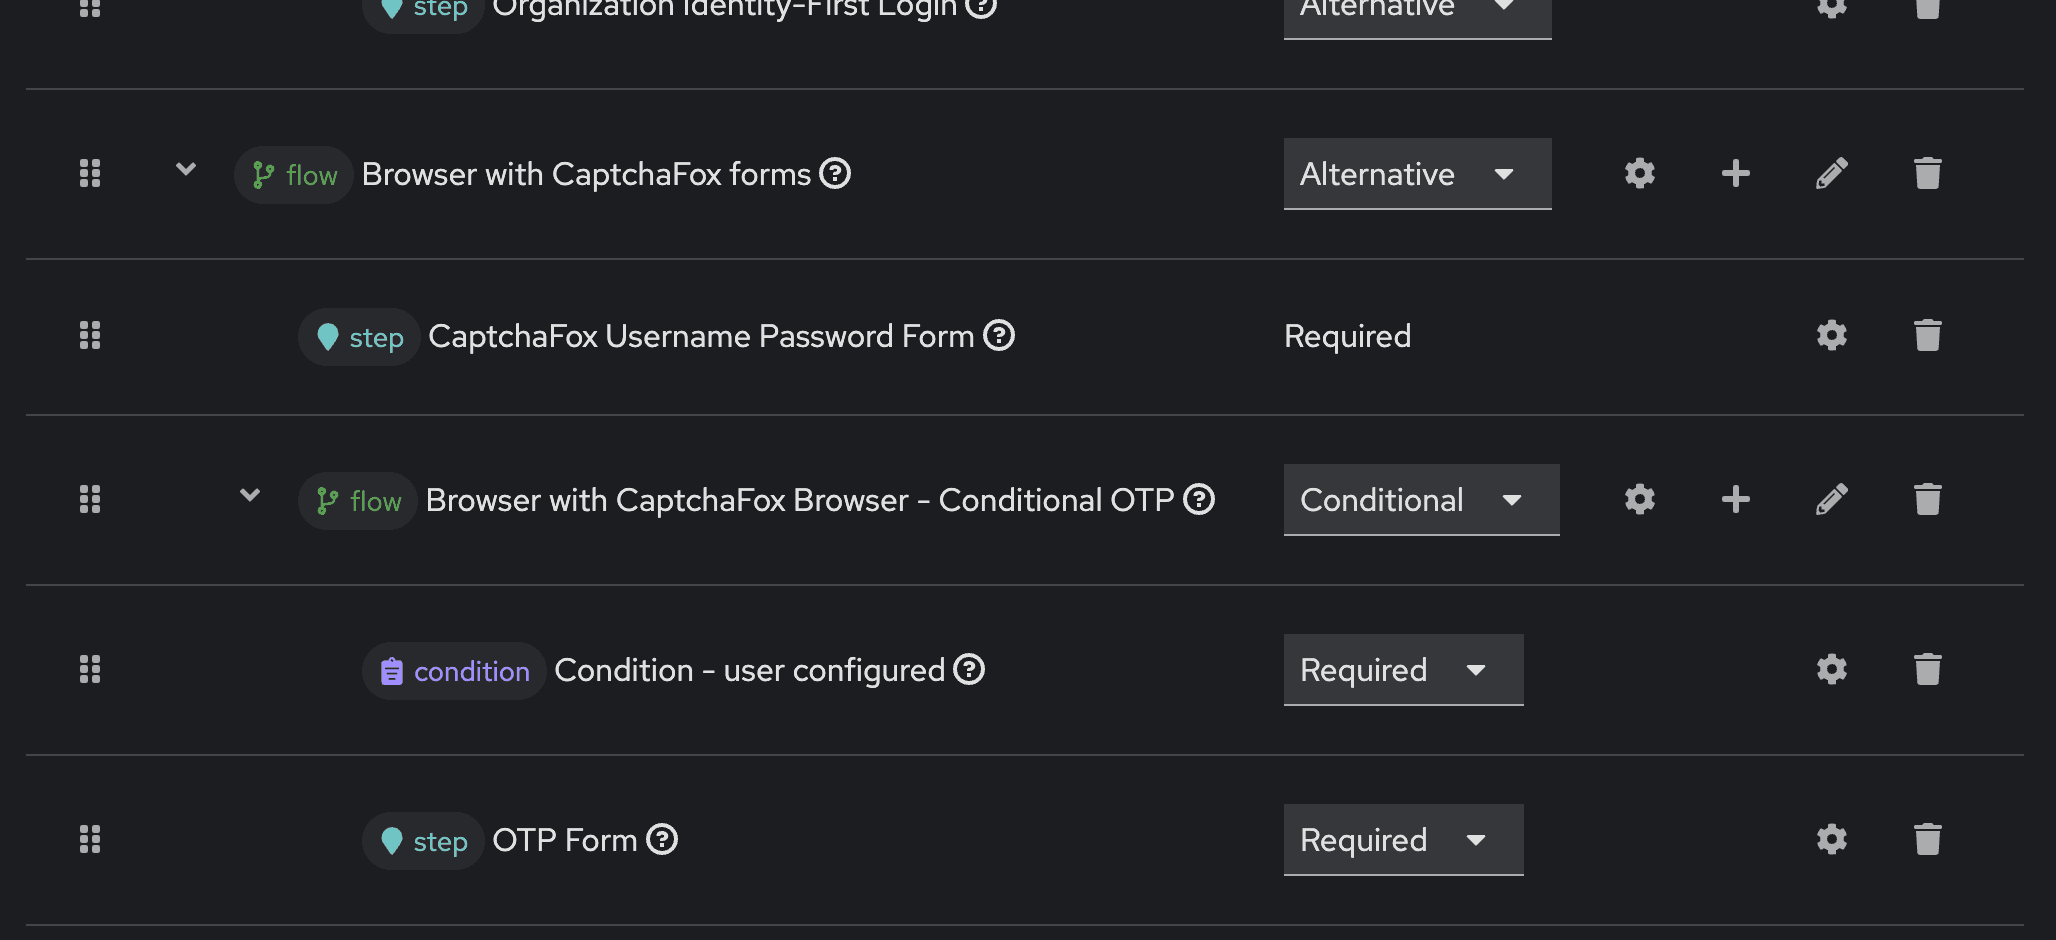
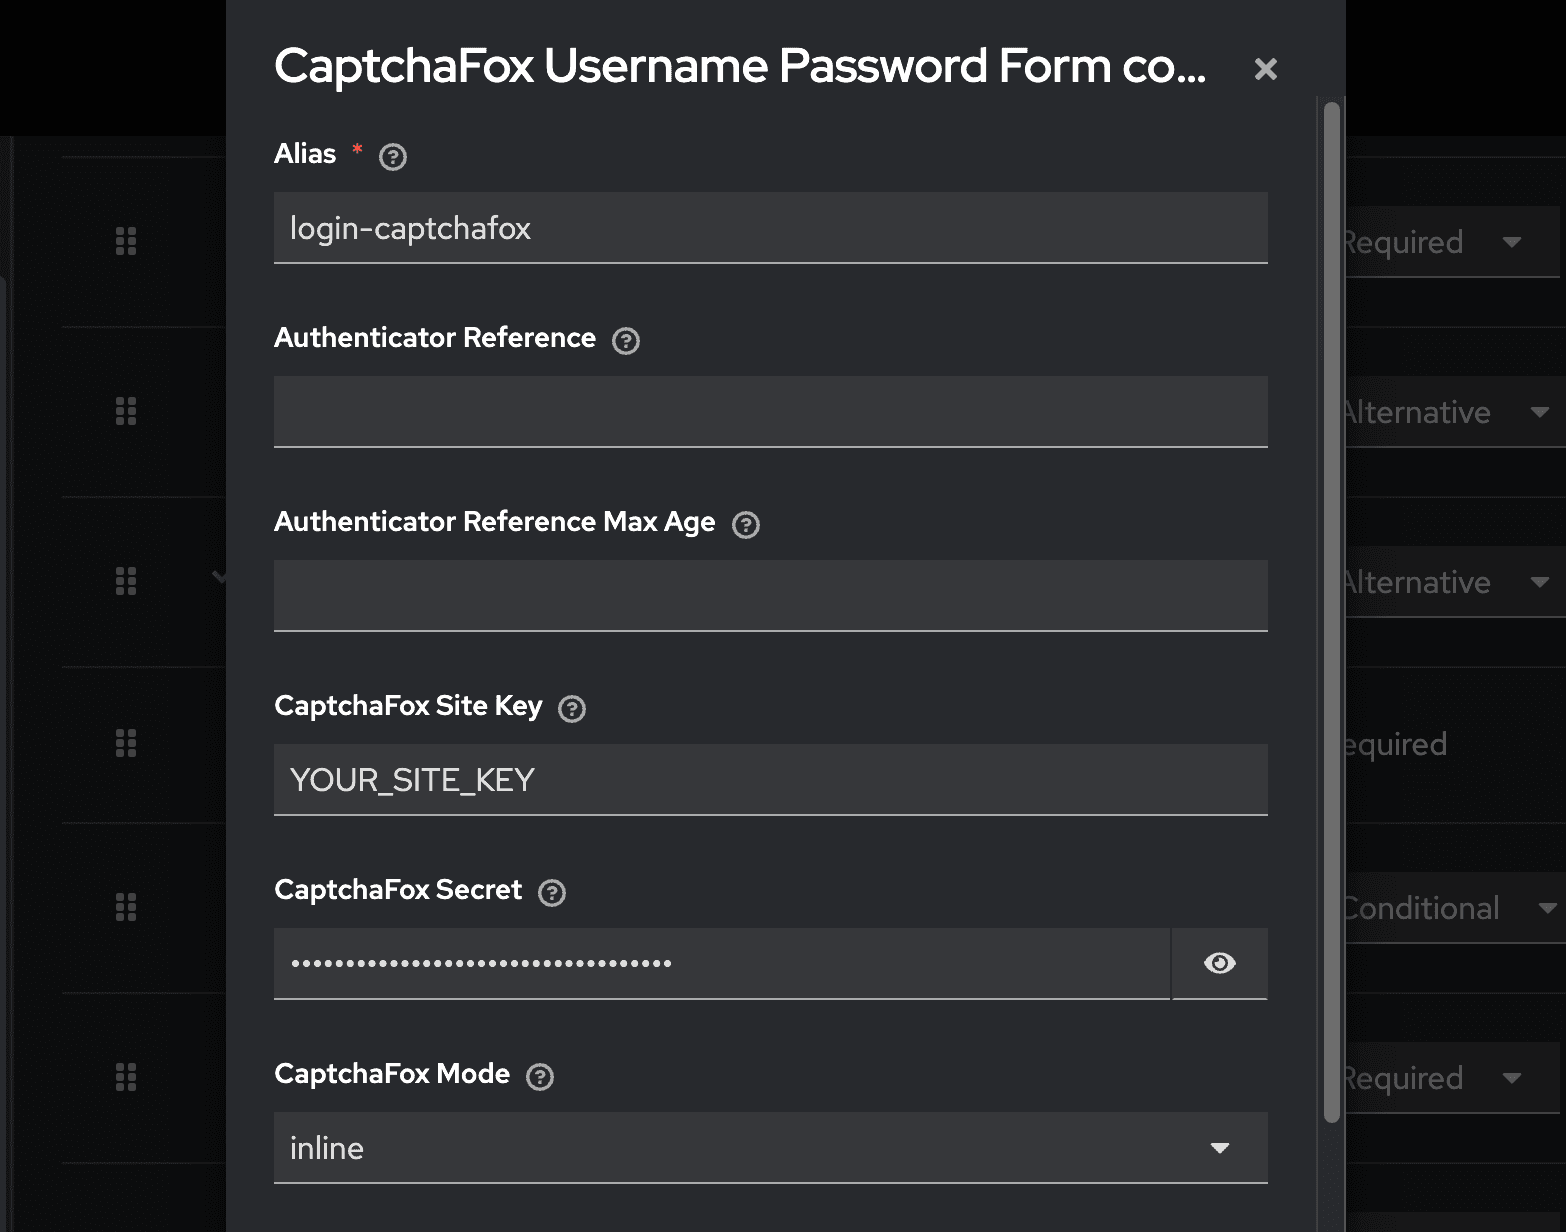
Next, click on the cog icon to open the step settings. There, set an alias and enter your Site Key and Secret Key from your CaptchaFox Admin Portal.
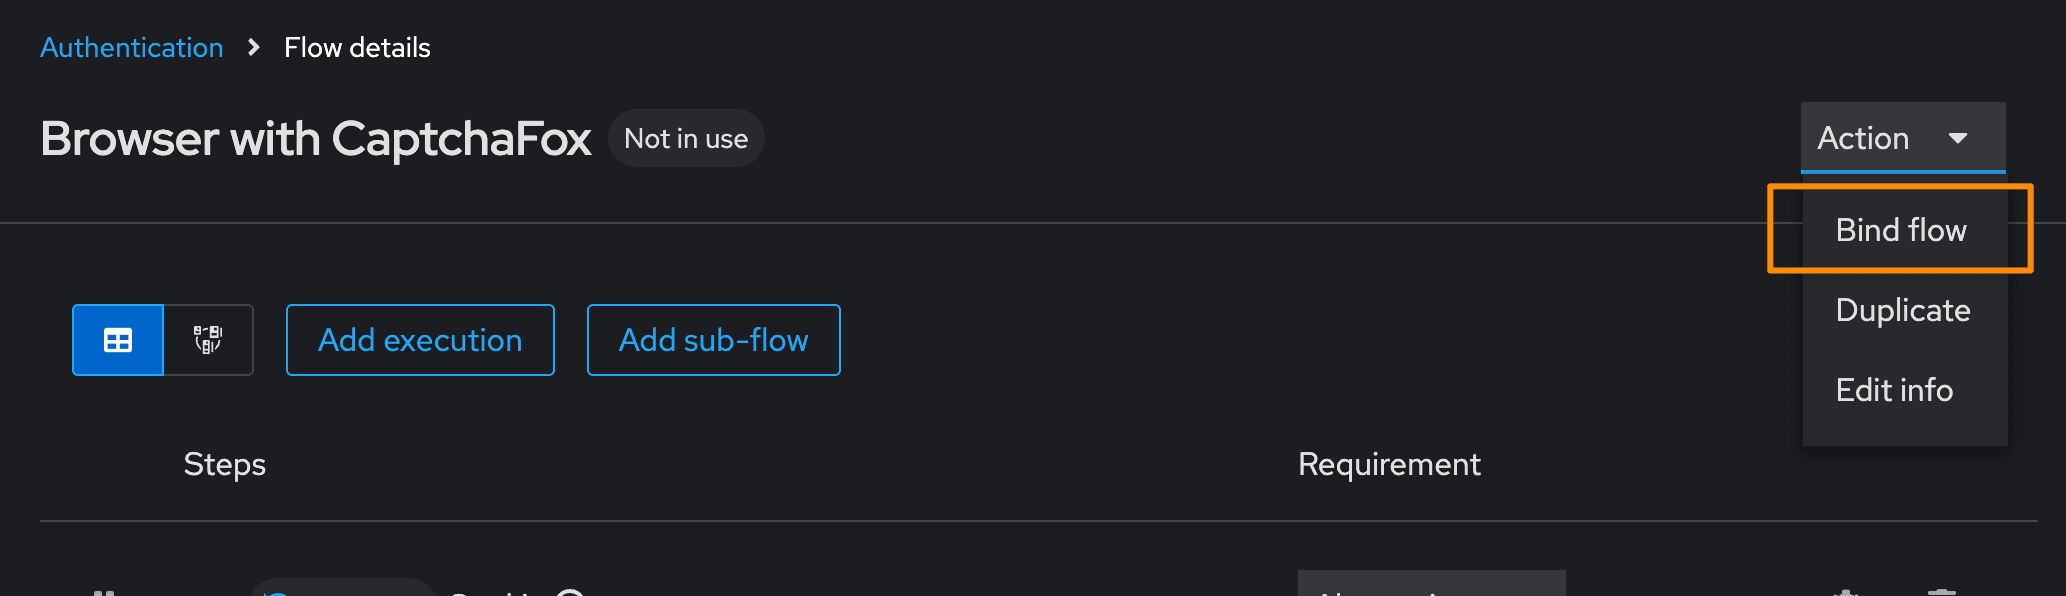
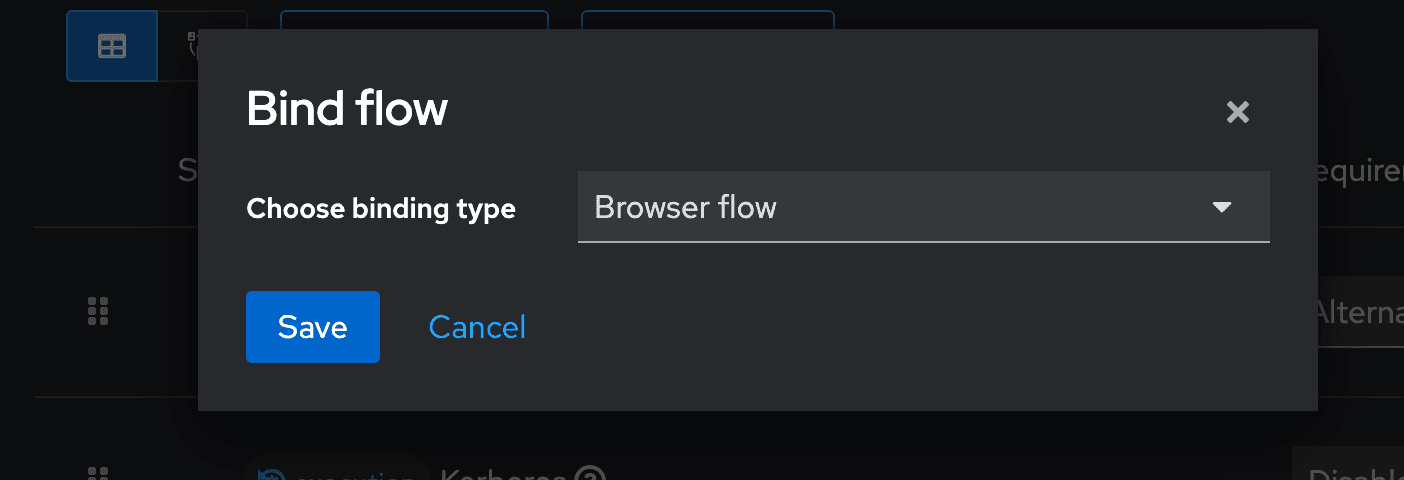
The final step in the Keycloak Admin Console is to bind the login flow to the newly created one.
Update the template
To show the CaptchaFox widget on your form HTML, you need to also modify the login template login.ftl. You can find the file in your Keycloak installation under themes/base/login/ or your custom theme.
Inside the file, replace the recaptcha code block with the following:
<#if captchaFoxRequired??>
    <div class="form-group">
        <div class="${properties.kcInputWrapperClass!}">
            <div class="captchafox" data-mode="${captchaFoxMode!'inline'}" data-sitekey="${captchaFoxSiteKey}"></div>
        </div>
    </div>
</#if>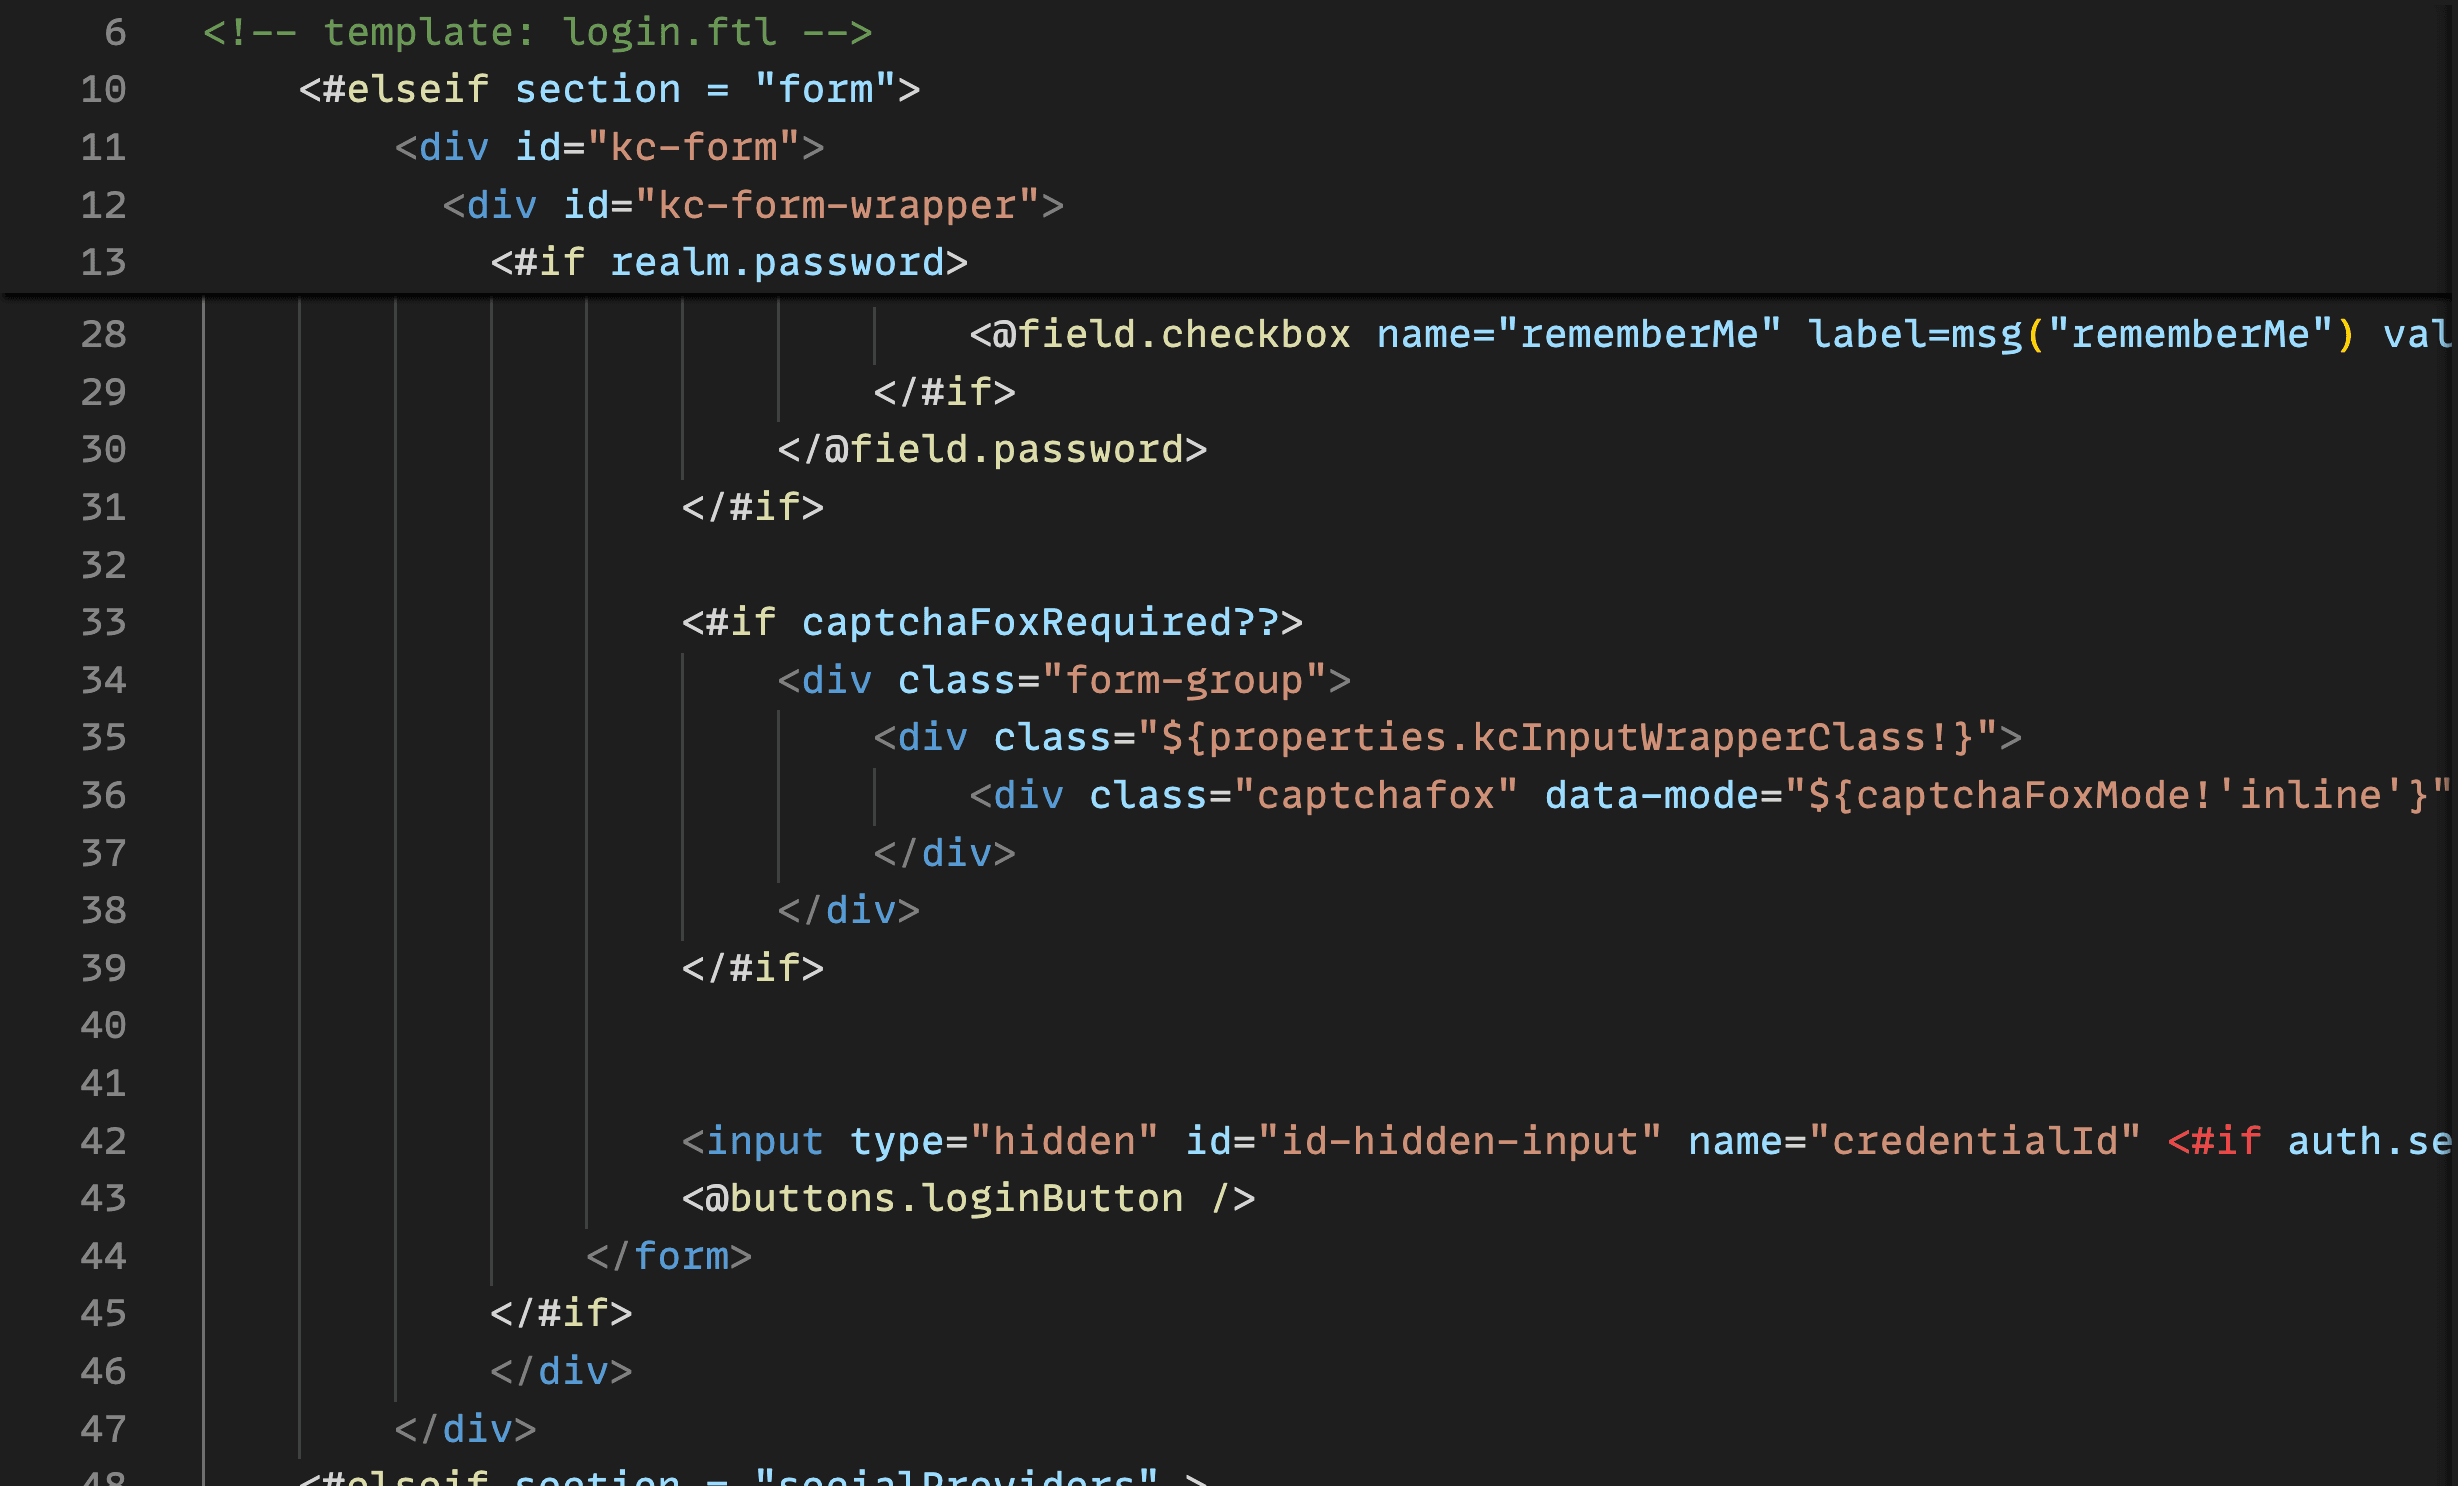
Standalone Challenge
To enable the installed provider for any other authentication flows like reset credentials, follow the next steps.
Keycloak Admin Console
Inside your Realm, click on Authentication in the left menu and go to the Flows tab.
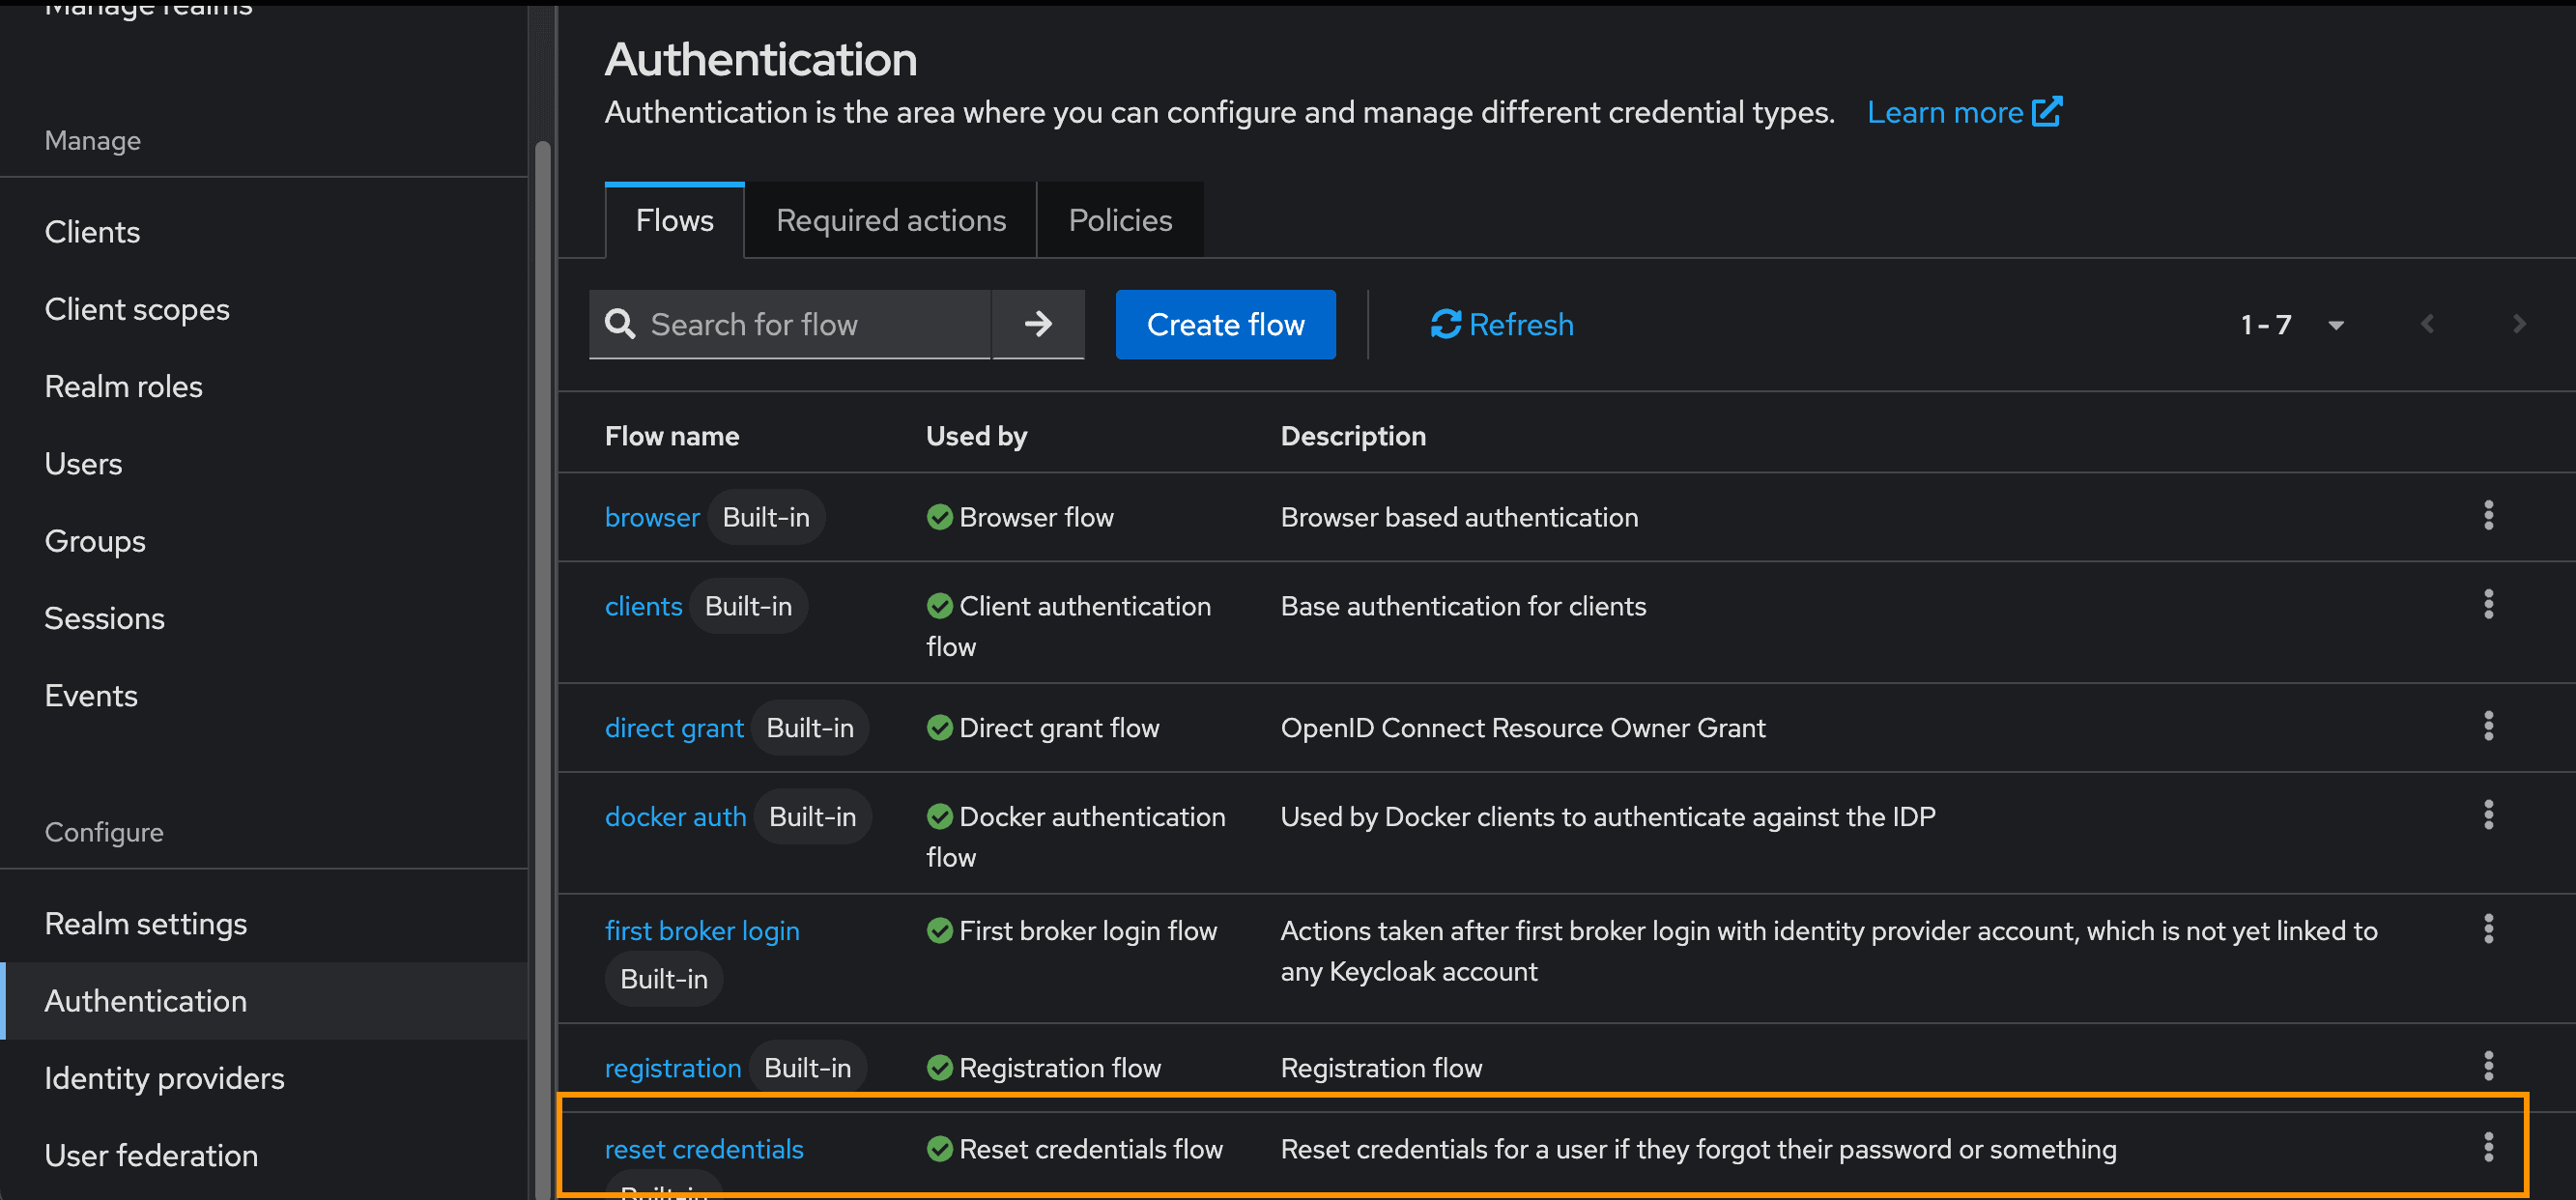
Here, duplicate the reset credential flow, give it a name and open it.
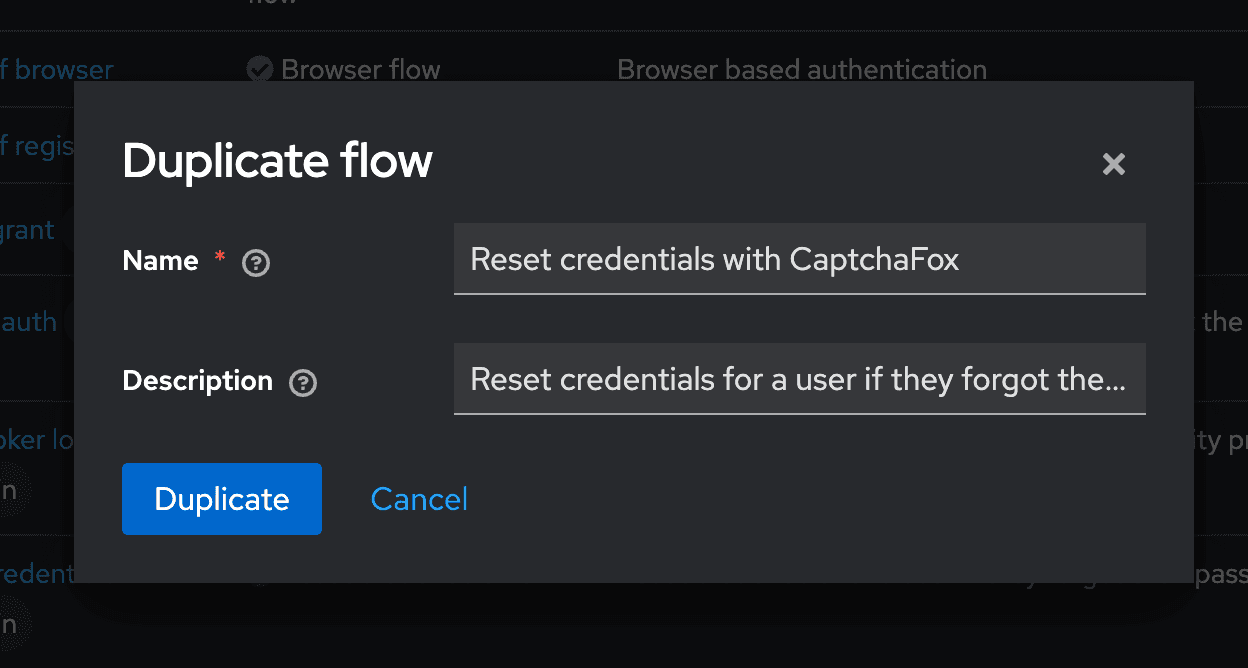
Now, add the CaptchaFox Challenge execution step, set it to required and move it to the top.
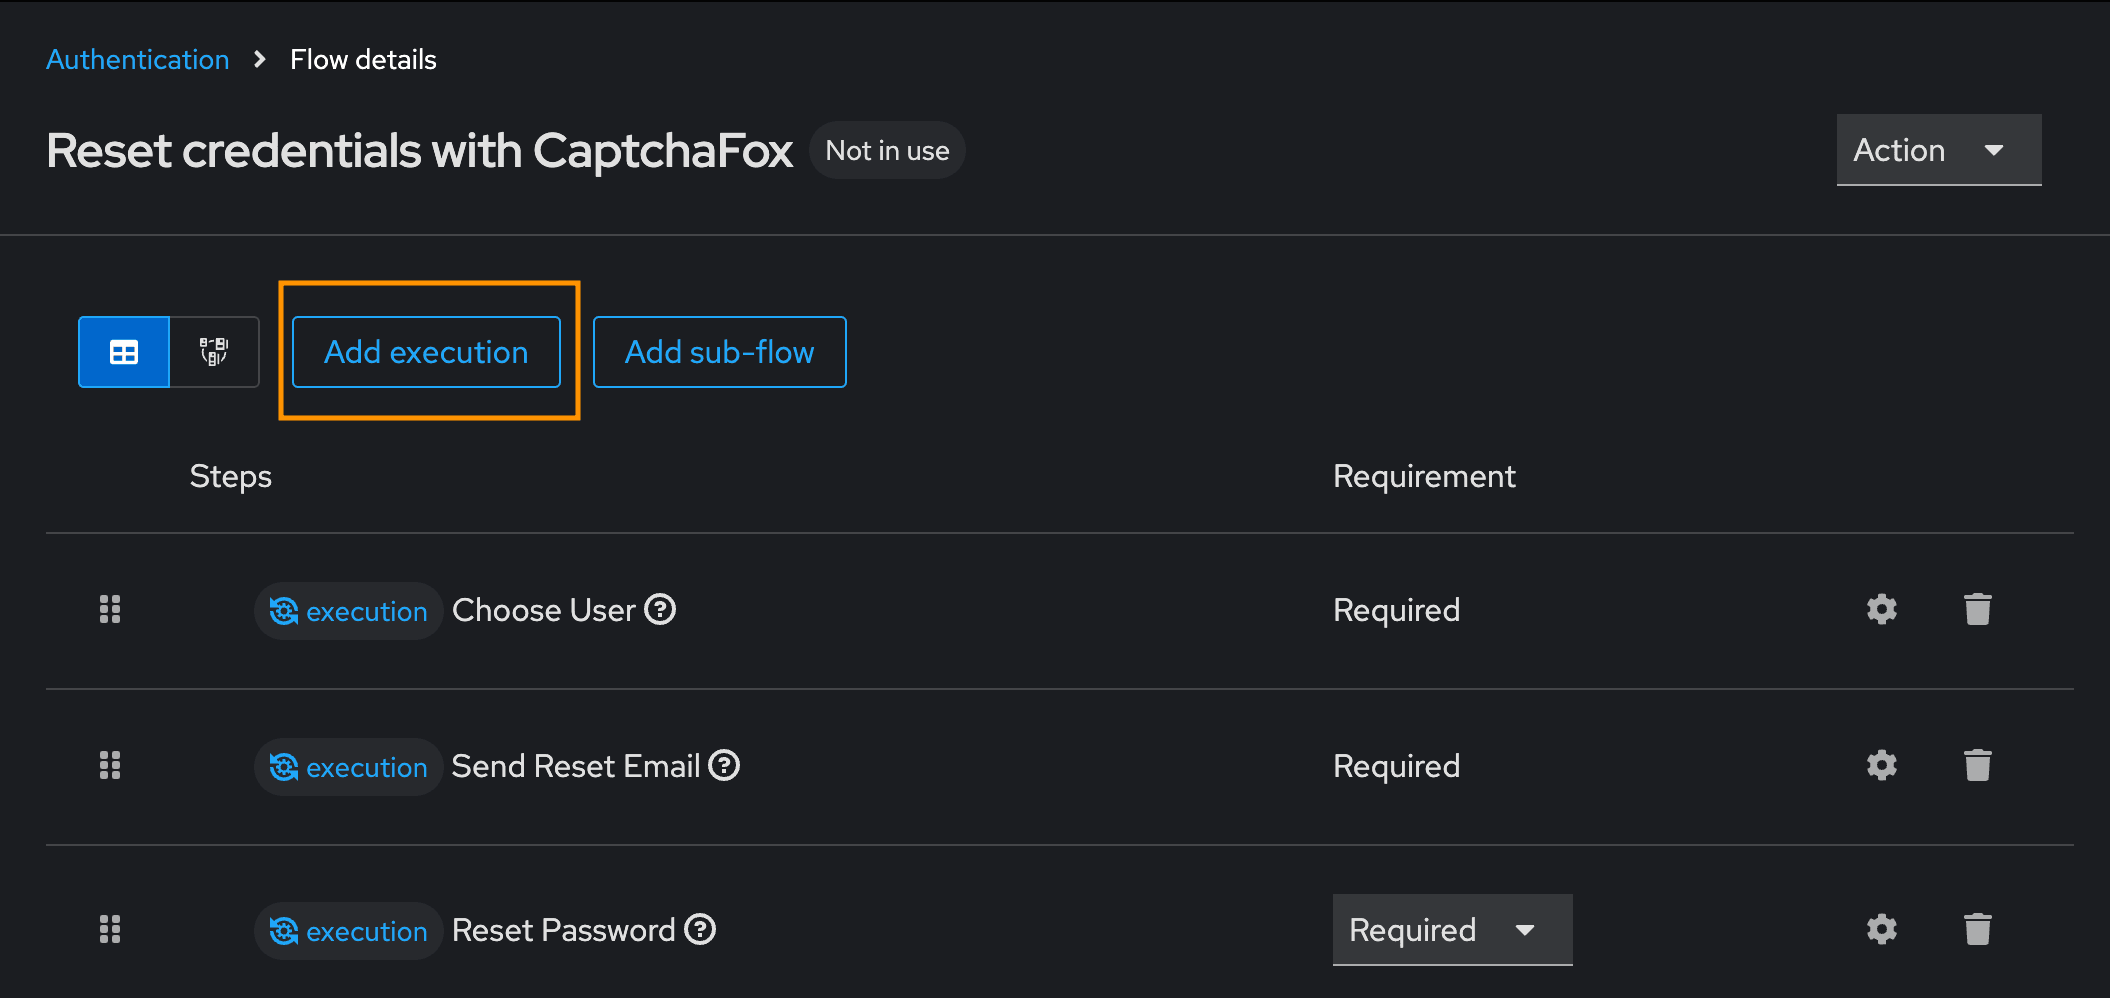
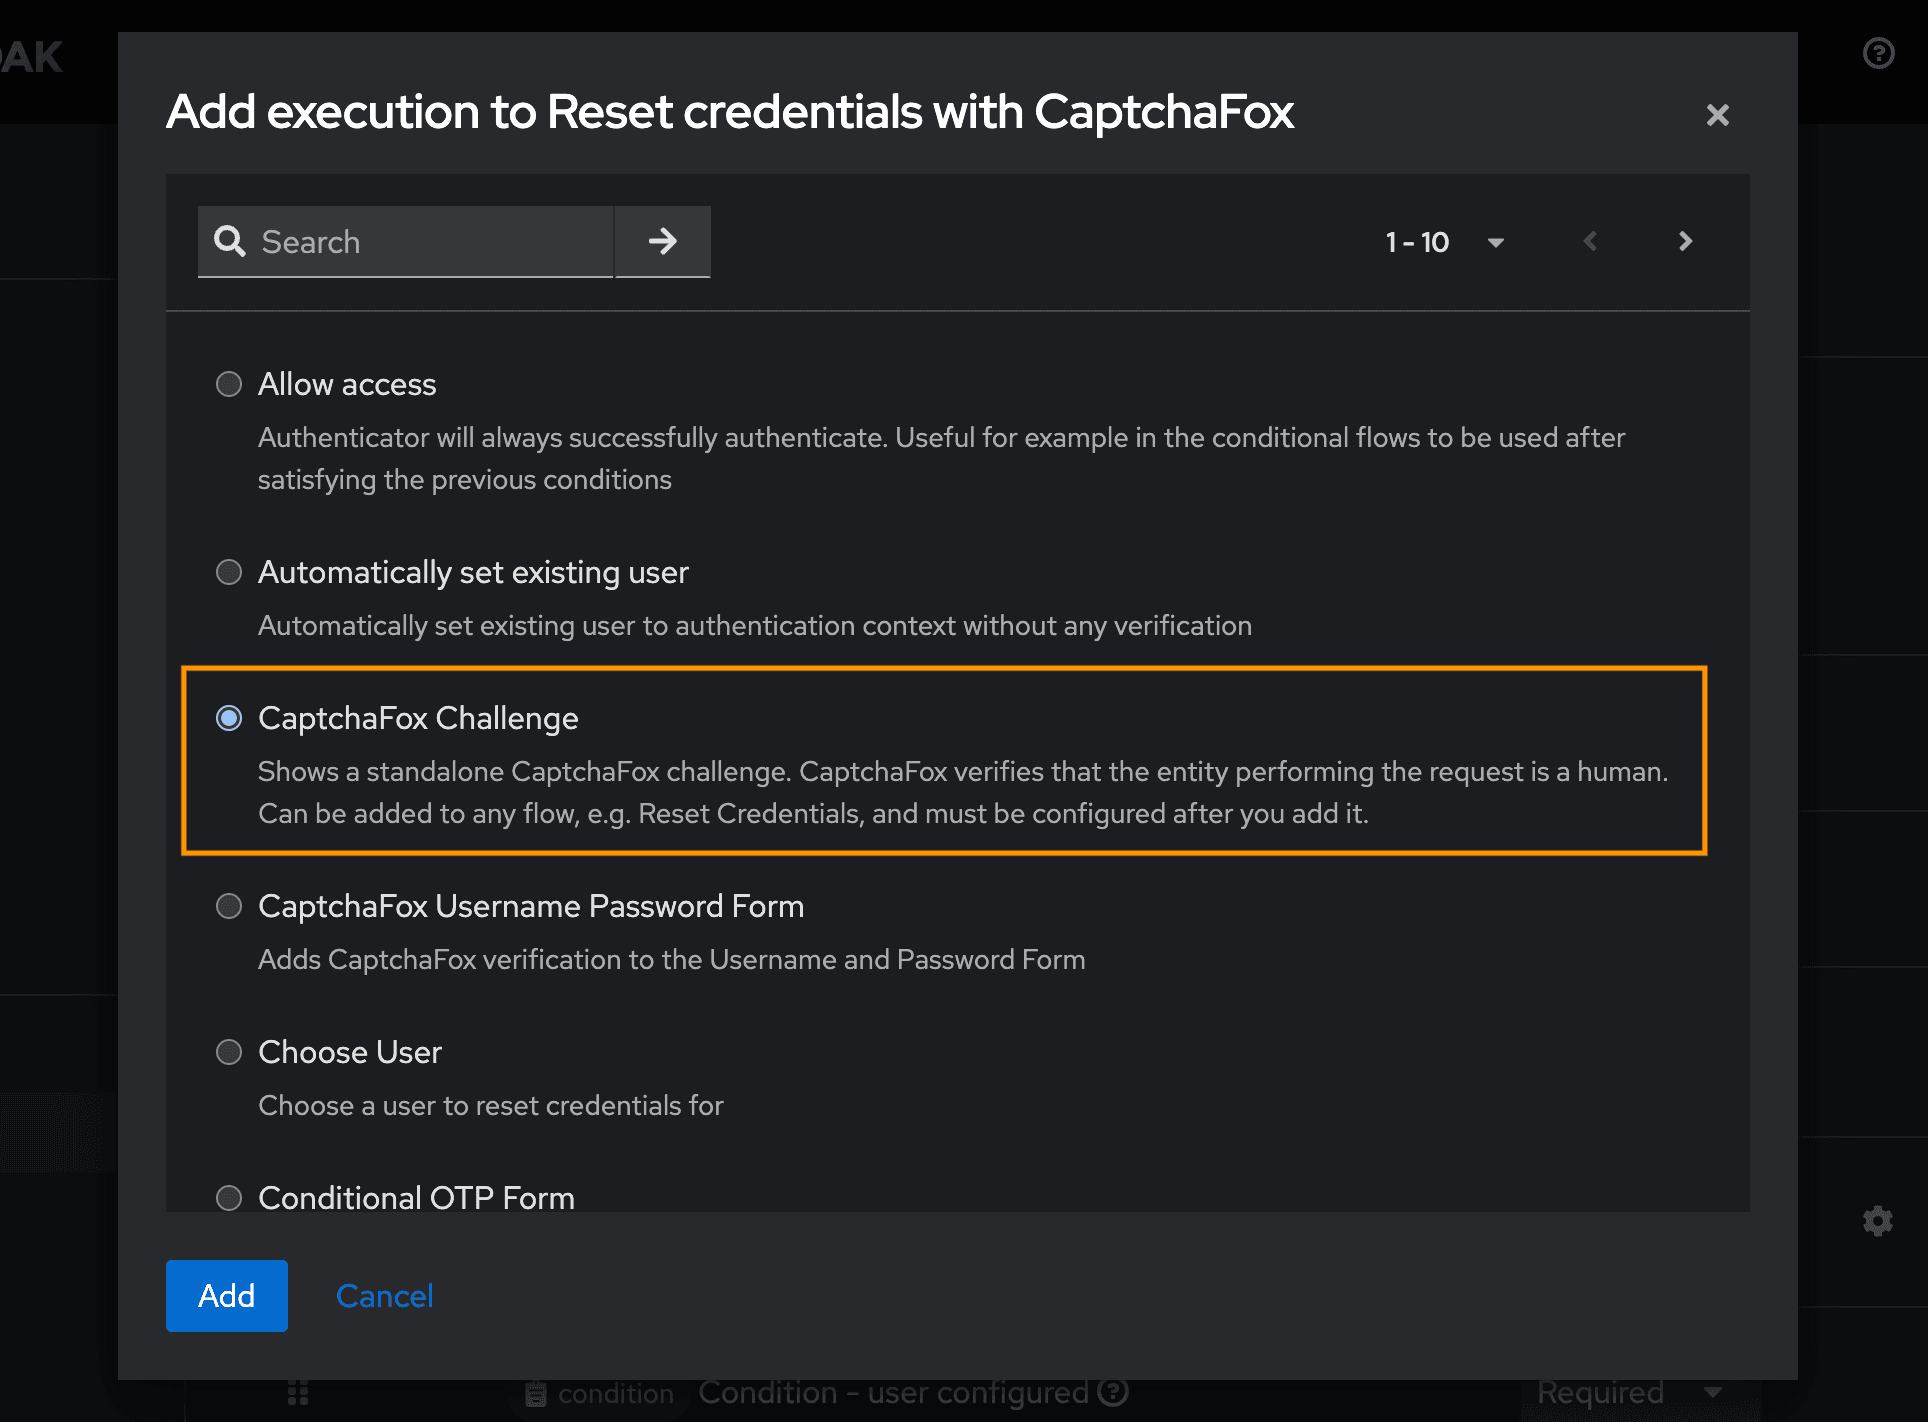

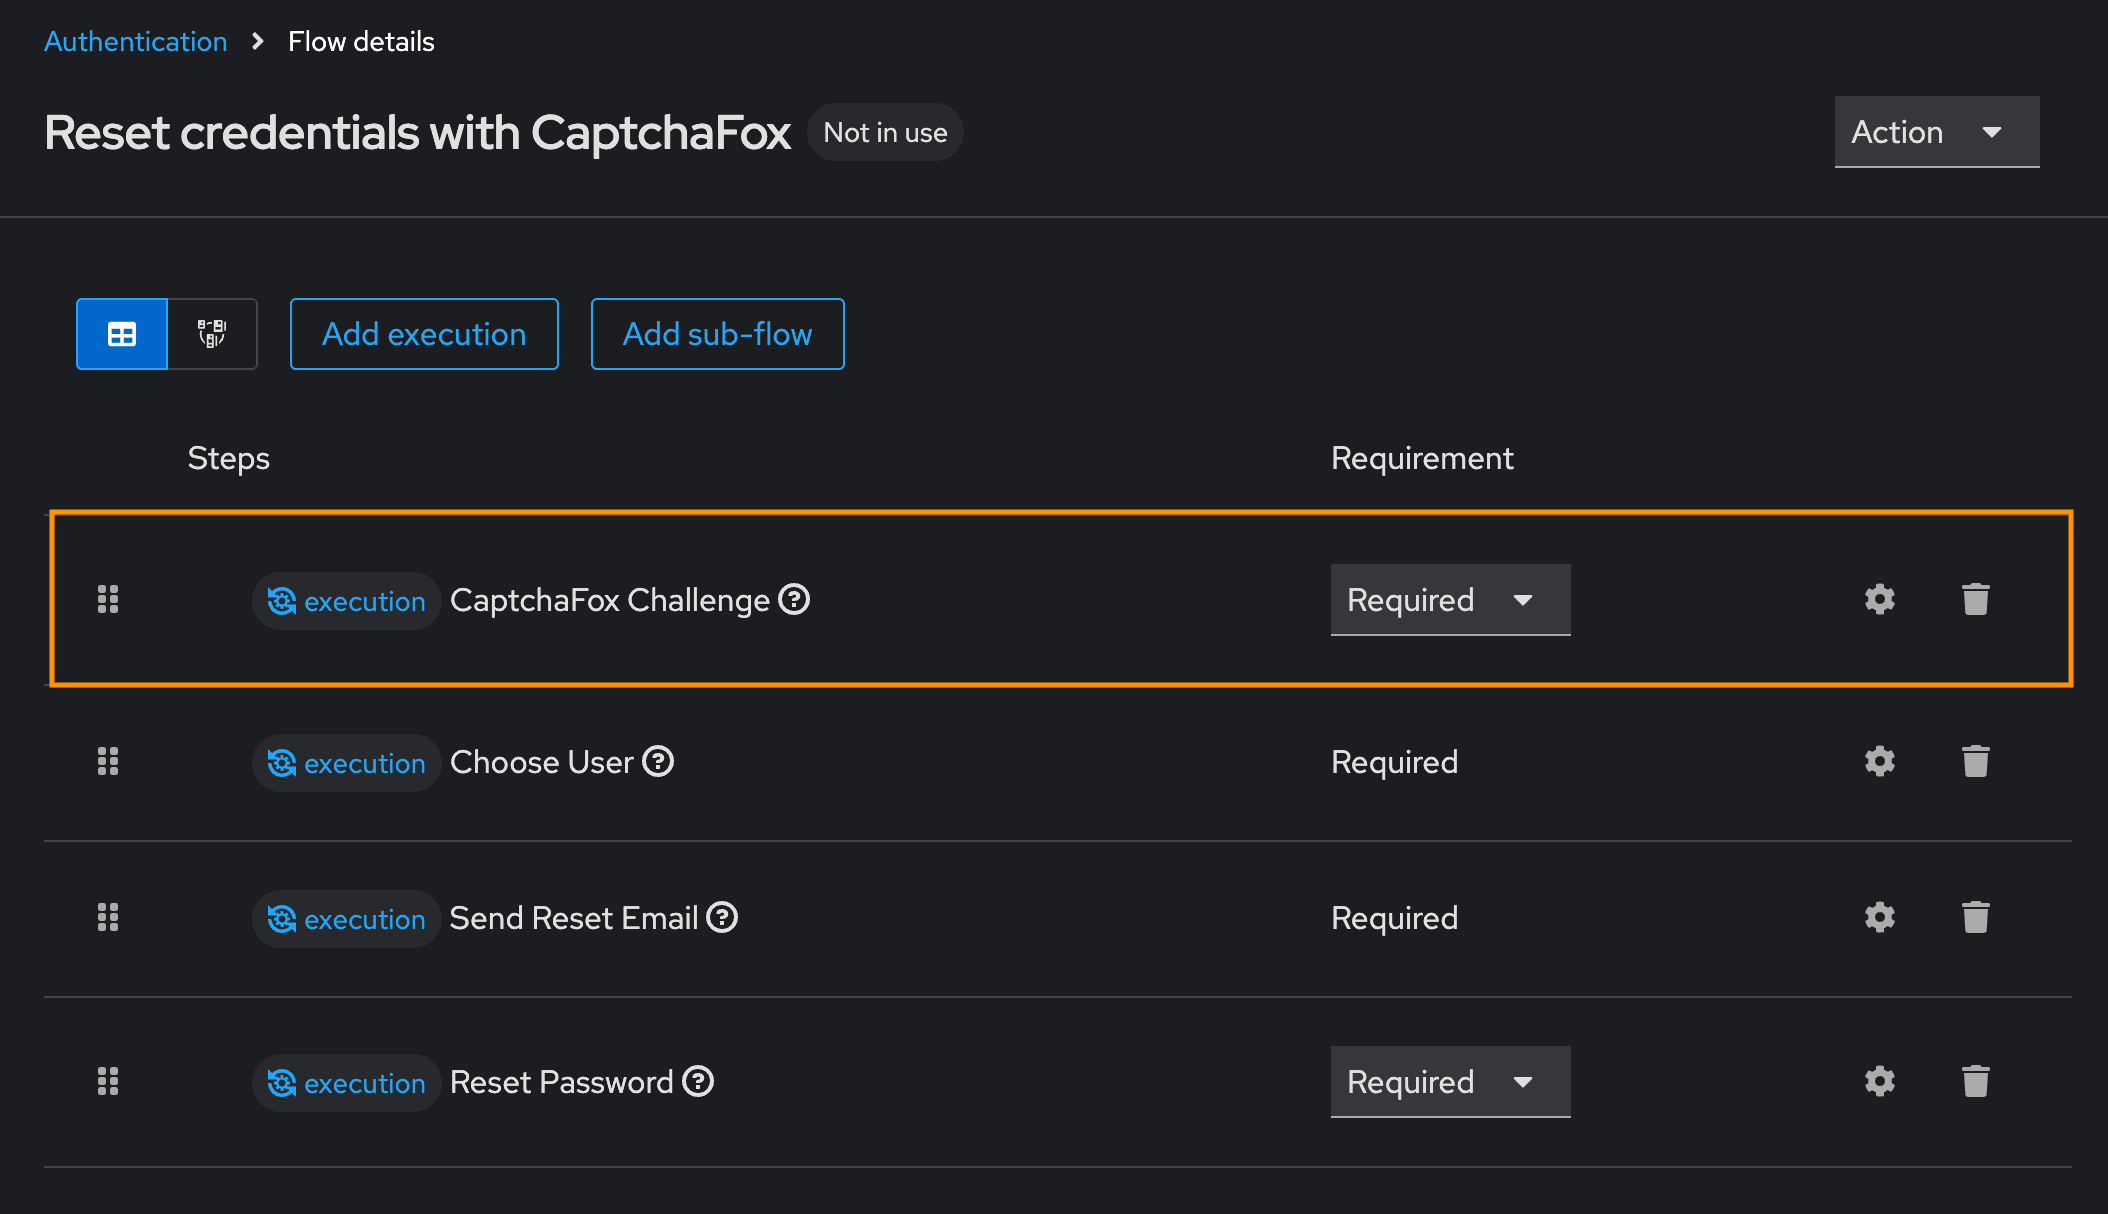
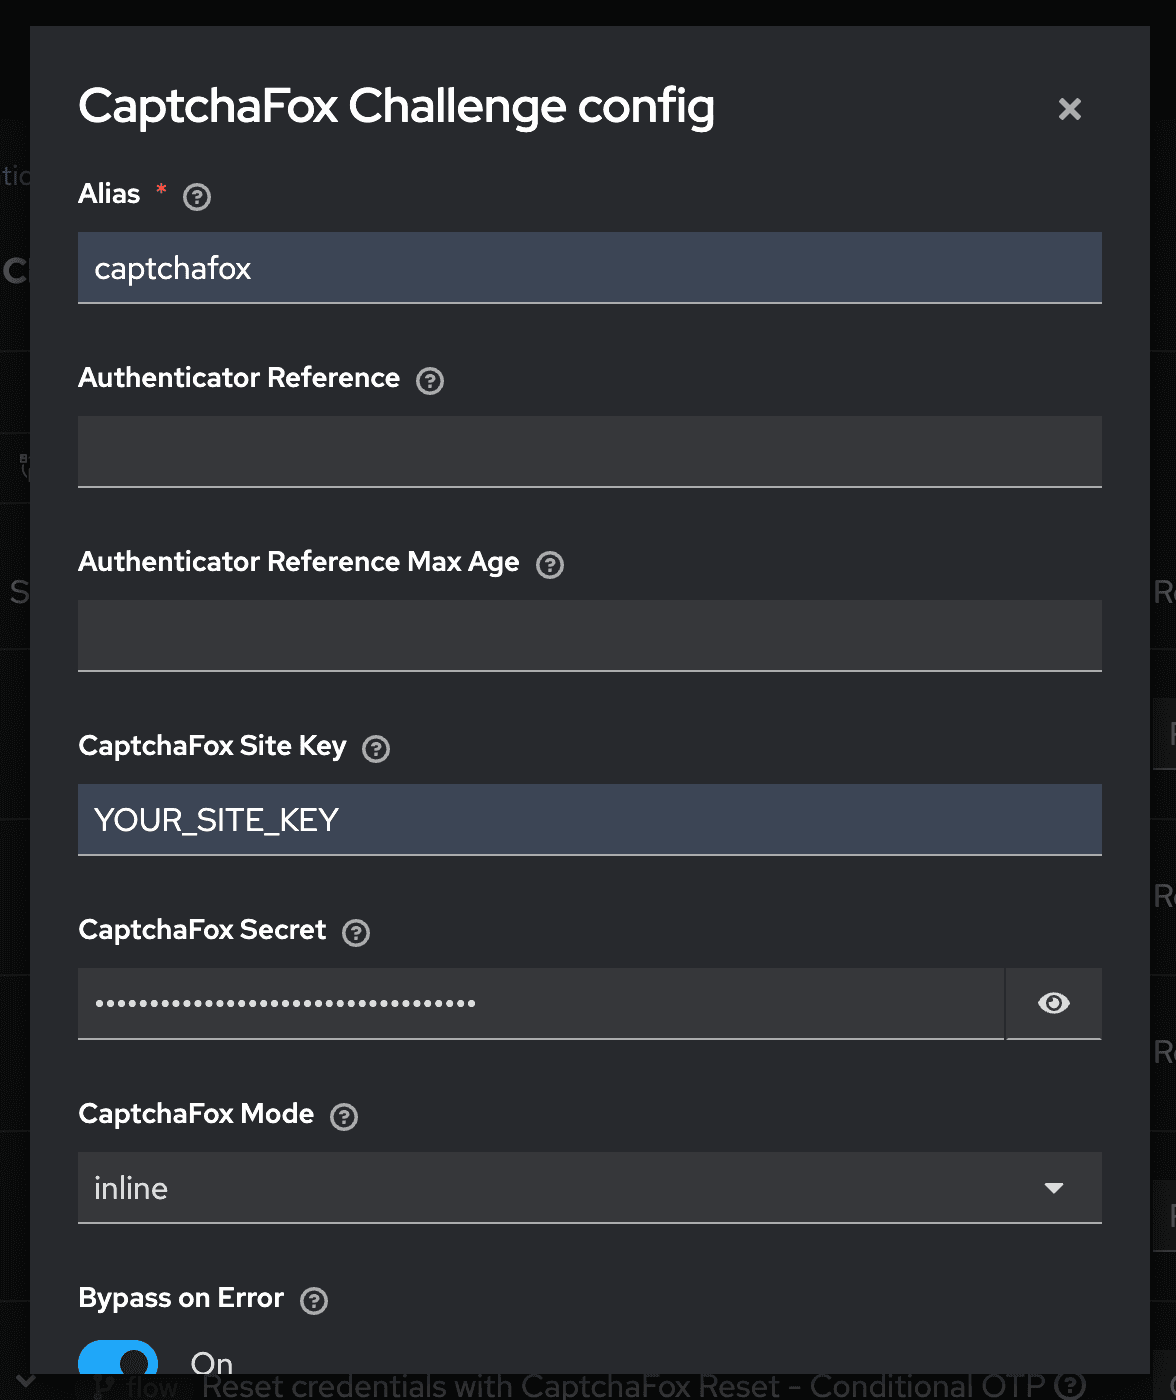
Next, click on the cog icon to open the step settings. There, set an alias and enter your Site Key and Secret Key from your CaptchaFox Admin Portal.
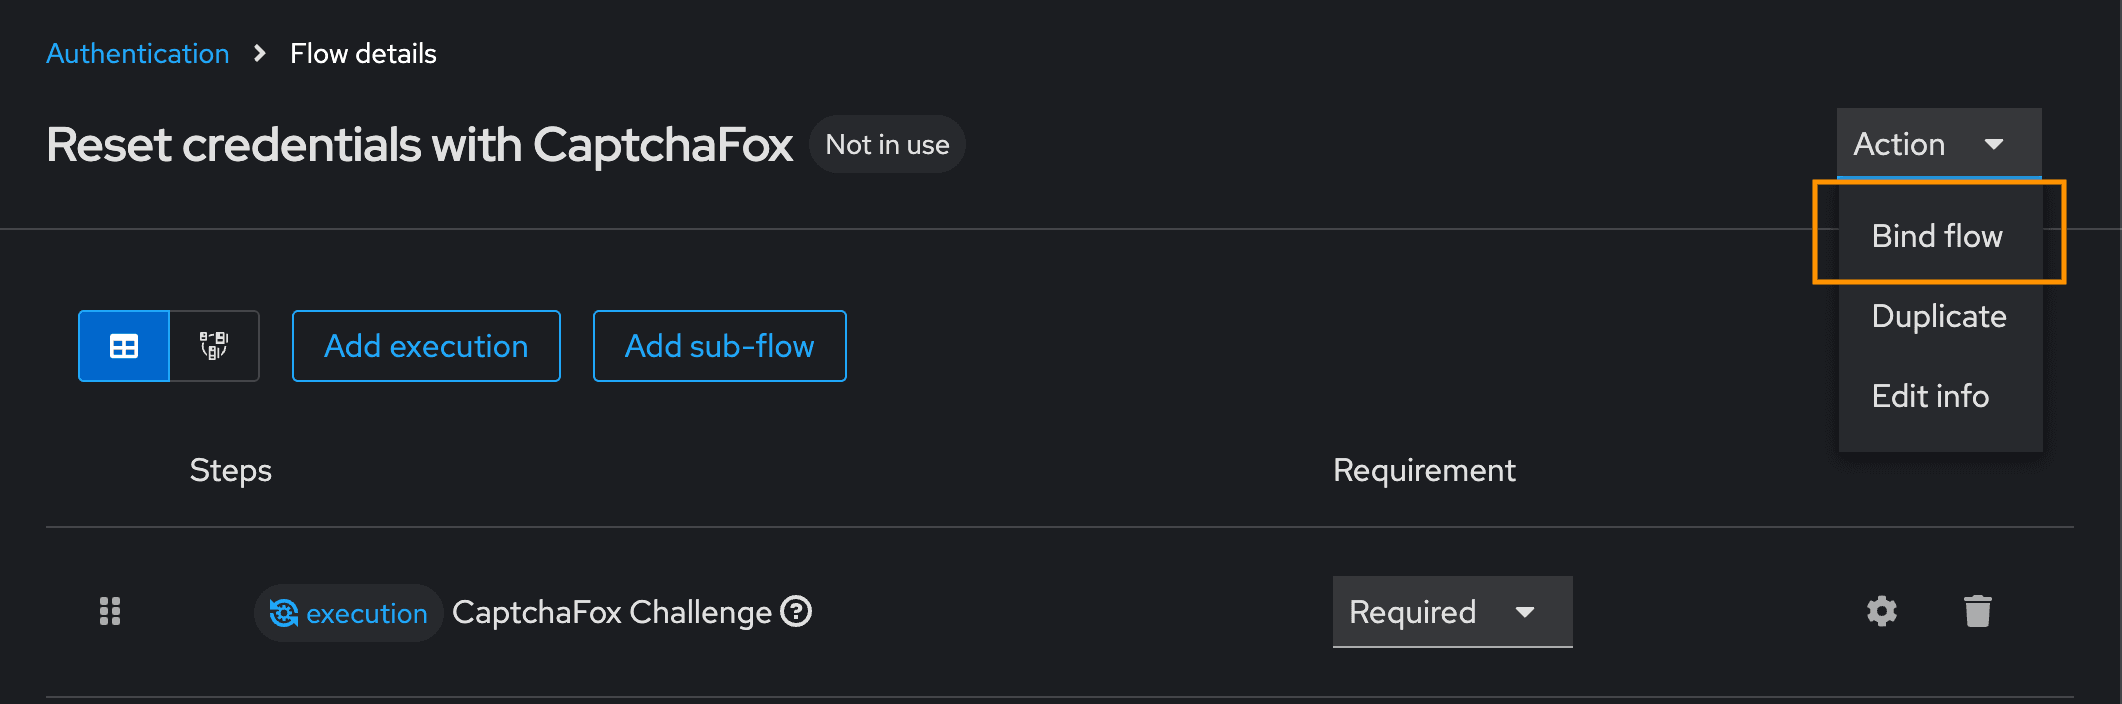
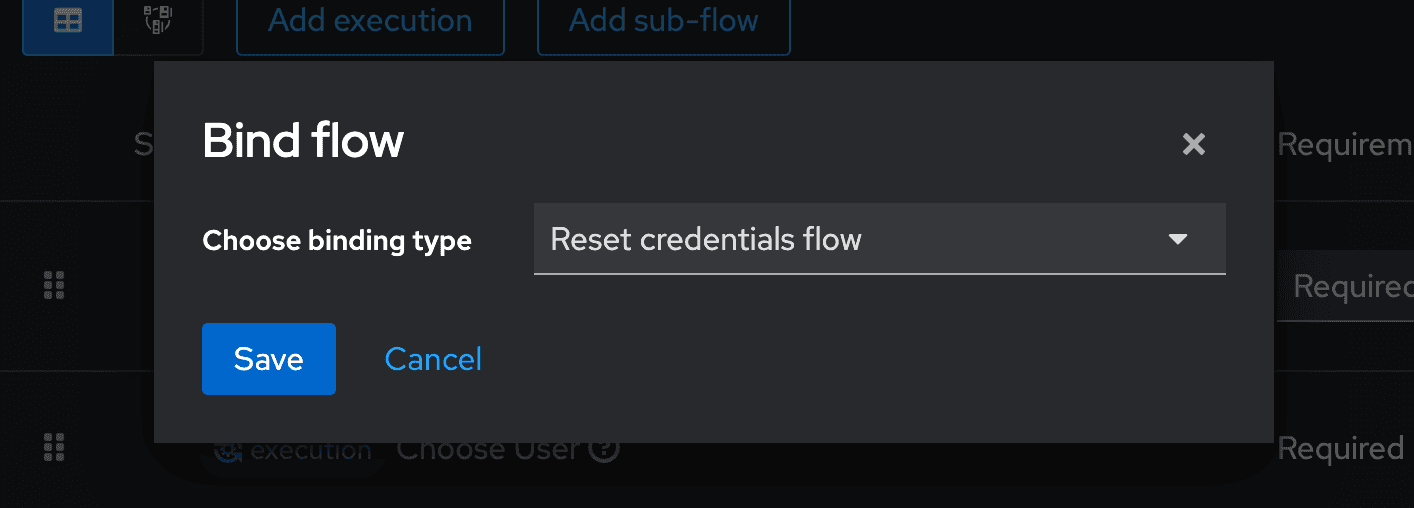
The final step in the Keycloak Admin Console is to bind the reset credentials flow to the newly created one.
Result
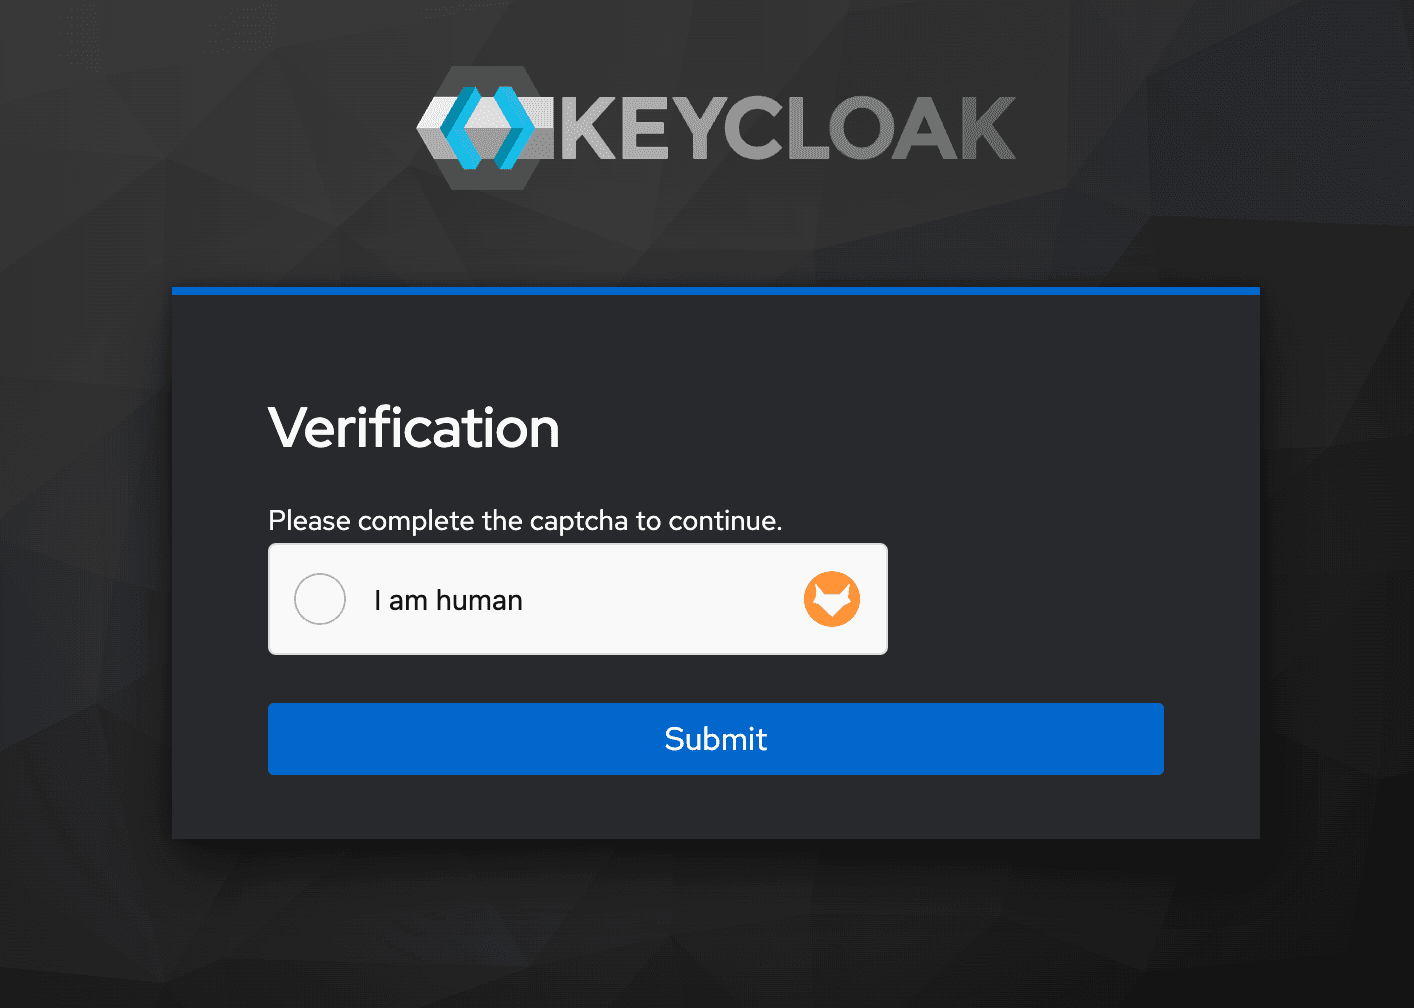
The user now needs to complete the challenge step before continuing to the reset credential form.
Update messages
The plugin currently uses the same messages as the recaptcha implementation in addition to custom texts for the standalone step.
You can change them by opening the respective message file (e.g. theme/base/login/messages/messages_en.properties) and updating the keys.
recaptchaFailed=Invalid Captcha
recaptchaNotConfigured=Captcha is required, but not configured
captchafoxTitle=Verification
captchafoxInstruction=Please complete the captcha to continue.